Assigning a Case Follow-Up
Created by Russ Hartle, Modified on Thu, 22 May, 2025 at 3:59 PM by Russ Hartle
Assignments can be used to re-open closed cases or to supplement an original case report. There are 3 common ways to assign a case follow-up (or supplemental); Supervisor Assignments, Call Log Assignments, and Master Index Assignments. Certain methods may be restricted depending on the user’s security rights.
Supervisor Assignments
The first method to assign a case is through Admin Review.
*Tips:
Typically, a supervisor or any user with access to Administrative Review would use this method to assign a case for a follow-up or supplemental. Assignments created through Admin Review can be designated to the original reporting officer or other personnel in the agency.
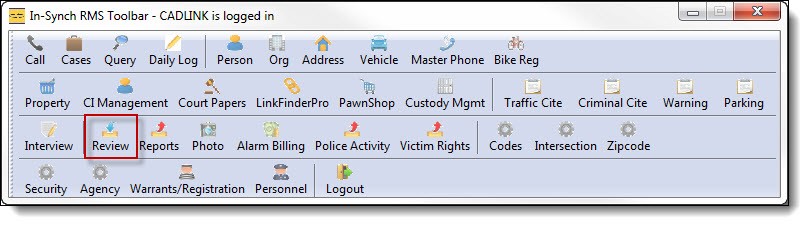
1. Click on “Review” from the main RMS toolbar
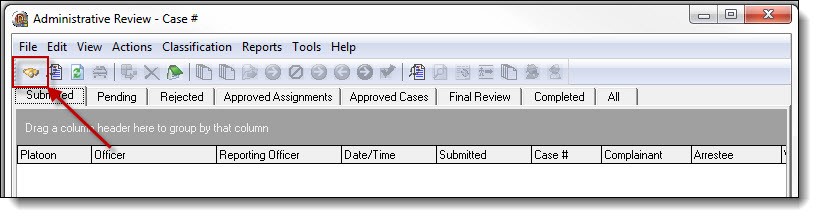
2. Click the “Find” button from the Admin Review toolbar.
3. Enter the case number(A), and then click the “Find” button (B) to search for the case in Admin Review.

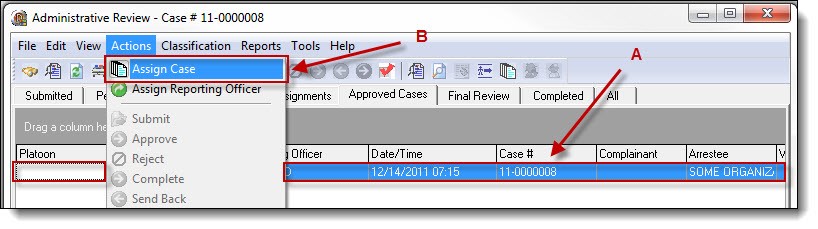
4. Once the case has been located, highlight the case (A), and then select “Assign Case” from the Actions drop down list (B).
5. Select the officer and due back date (if needed) from the drop-down boxes (A) , and then click the “OK” button (B).

6. Choose whether or not to enter assignment notes to the case.

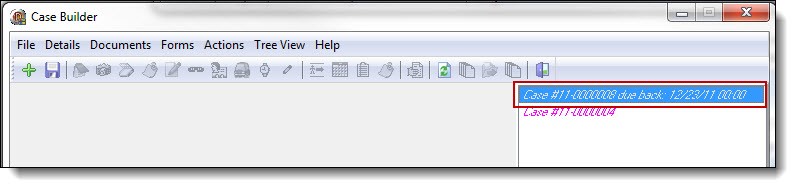
7. The case assignment will display in the assigned officer’s Case Builder list.
Did You Know?
The due back date and assignment notes are optional fields; they are not required for a case assignment. Any added assignment notes and/or due back date are viewable by the officer from within Case Builder.
Call Log Assignments
The second method to assign a case is through the Call Log.
*Tips:
Typically, an officer or any user with limited rights within the RMS would use this method. However, it may be used by anyone within the agency. Users will generally be assigning the case to themselves for a follow-up or supplemental through Call Log.
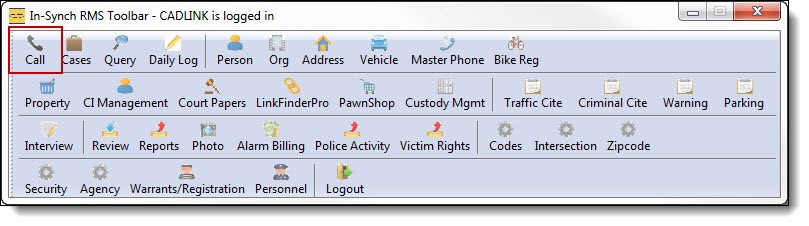
1. Click “Call” from the main RMS toolbar.
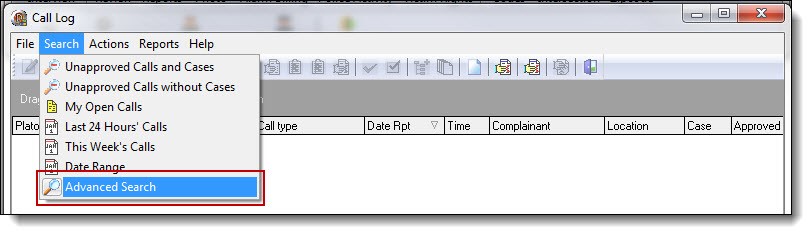
2. Select “Advanced Search” from the Search drop down list.
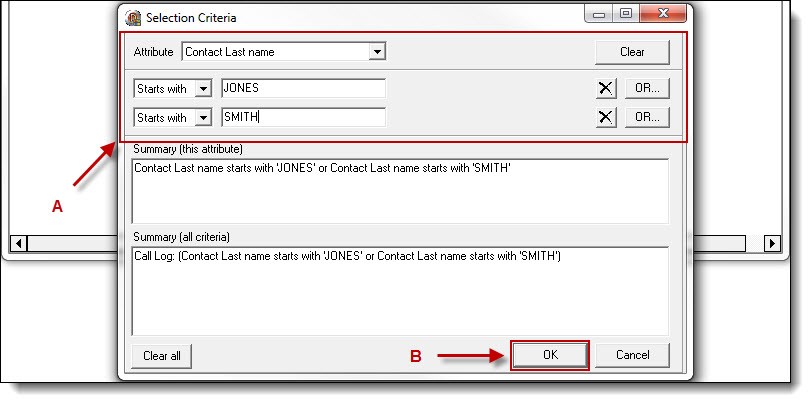
3. Select attributes from the drop down boxes and/or enter search criteria into the text fields(A). Once the criteria have been entered, click the “OK”(B), to start the search.
*Tips:
The Attribute drop down list includes all fields that could have been entered into the original call for service. This includes items like vehicles, contacts, addresses, etc. Any of the quick search functions can be used to locate the Incident. However, the most common ways to search are by call number or case number.
4. Once the search has finished, the results will display in the Call Log window. Highlight the incident from the grid (A), and select “Assign Case” from the Actions drop down list (B) .
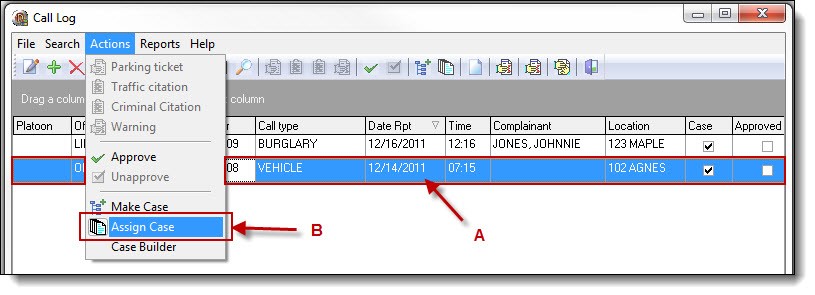
5. Select your name from the drop down list (A), and click the “OK” button(B).

!Did You Know?
You may want to enter a due back date and assignment notes as reminders. They are not required but are helpful when working on multiple cases at one time.
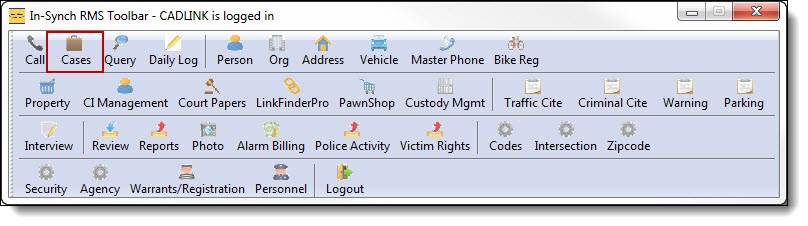
6. Exit the Call Log grid, and then click on “Cases” from the main RMS toolbar to access Case Builder.
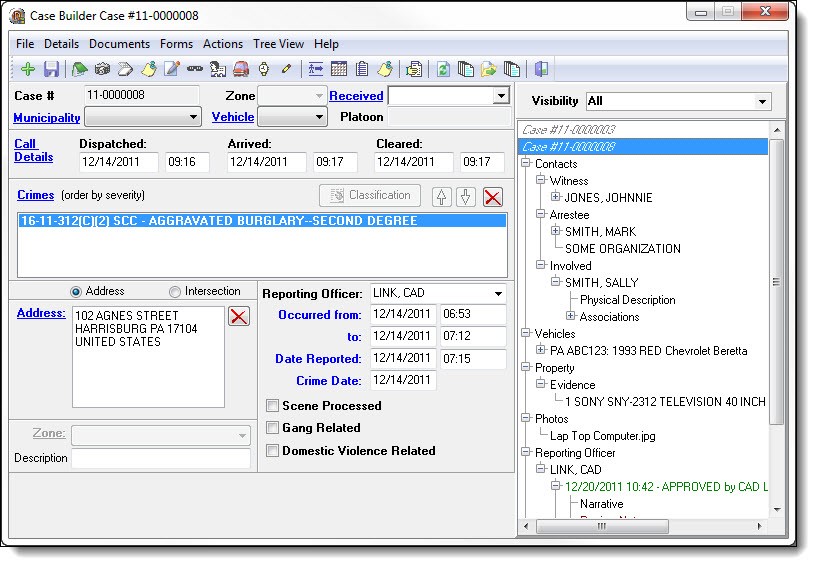
7. The new case assignment will show in the Case Builder list. Double click the case number to open the incident. All of the original information will be available, and users have the ability to add new contacts, property, narratives, etc.
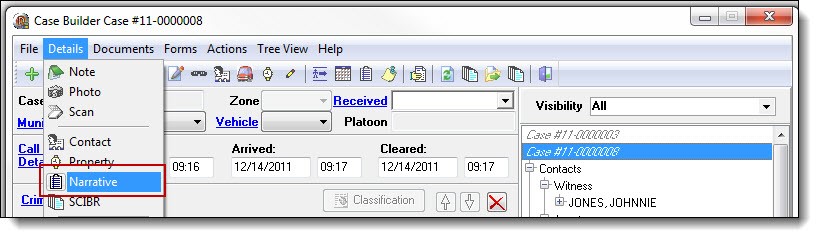
8. To create a new narrative (supplemental narrative), select “Narrative” from the Details drop down list.
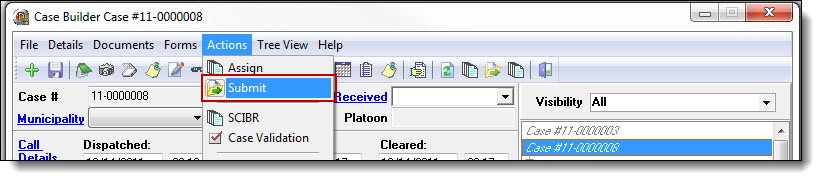
9. Once the case assignment has been completed, submit the follow-up for supervisor approval by selecting “Submit” from the Actions drop down list.
Master Index Assignments
The third method to assign a case is through the Master Indexes.
*Tips:
Typically, any user in the agency would use this method. Person, Org, Address, Vehicle, and Property all have self-building Master Indexes. Users will generally be assigning the case to themselves for a follow-up or supplemental through the Master Indexes.
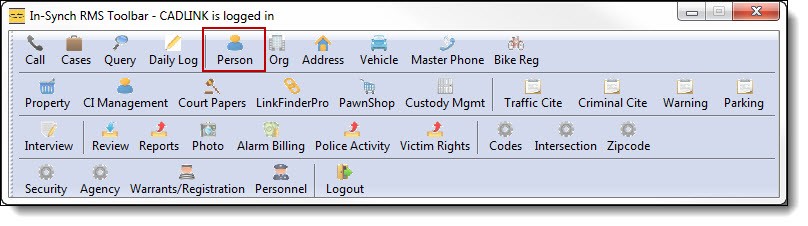
1. Click on “Person” to open Person Management from the main RMS toolbar.
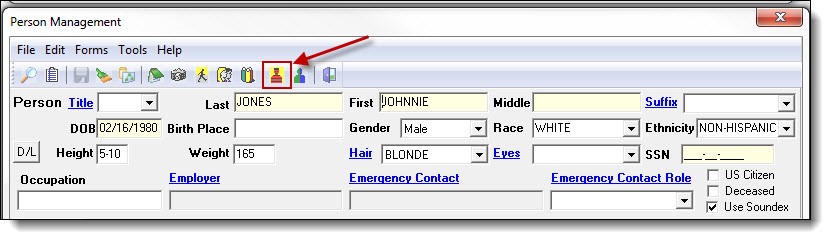
2. Enter part of the person’s last name, first name, or both (A), and then click the “Search” button (B) to see if the person exists in your database.

3. After choosing the person record from the results grid, click on the “MNI” button from the Person Management toolbar.
4. From the Master Name Index window, select the Cases tab.
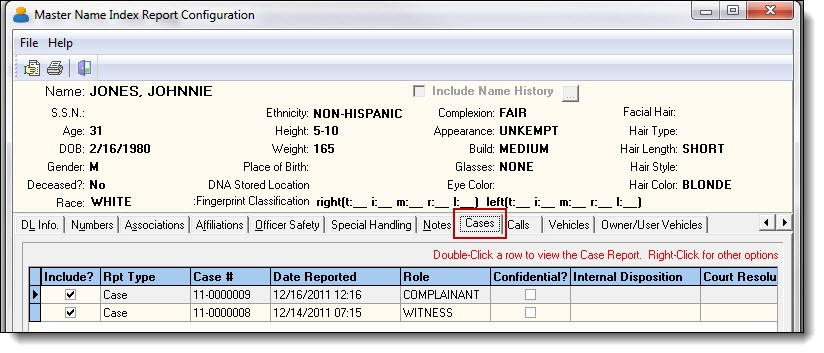
5. All cases associated with the individual will be listed under the Cases tab. Highlight a case (A), and then right-click and select “Assign Case” from the menu (B).
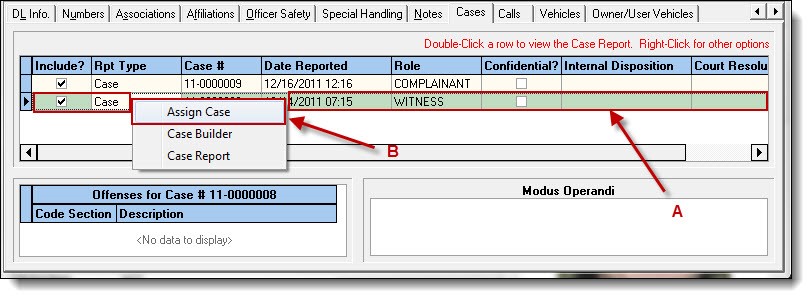
Did You Know?
You may preview a case report before assigning it by choosing “Case Report” from the right-click menu.
The Master Indexes contain any type of contact an agency has with a person, organization, address, vehicle, or property. Any of the five choices could be used to search and reassign a case to an officer.
Managing Locked Cases
CASE LOCKING
Starting with In-Synch RMS version 4.9, any case that has all assignments “Approved”, requires the case to be “Unlocked” before supplemental assignments can be created. If you would like your personnel to have the ability to create supplementals regardless of the case status, there is now a security right that can be granted allowing this access.
Case Locking Workflow
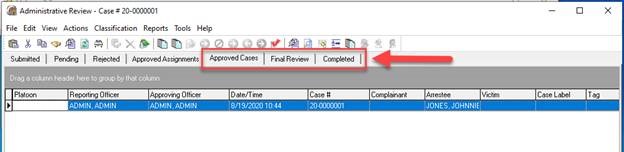
If a case resides in the “Approved Cases” tab (and above) of Admin Review, then the case is “Locked” and requires either an Administrator or Supervisor (Personnel with access to Admin Review) to unlock and assign a case follow-up.
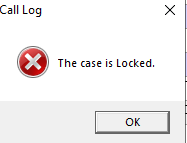
Once locked, only an administrator or supervisor can access the case. Any other users will not be able to access the case, and any attempts to assign the case will be rejected with the following message.
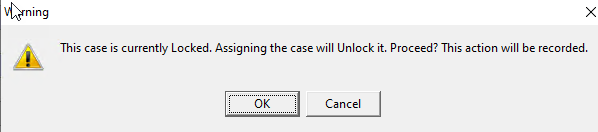
To create an assignment for the case, an administrator or supervisor will need to unlock the case. Unlocking a case is integrated into the case assignment process. If a case is locked, when an administrator or supervisor attempts to assign the case, they will immediately receive the following Warning. Click “OK” in the Warning to unlock the case.
If the case resides in the “Approved Assignments” tab (or below) of Admin Review, then the case is “Unlocked” and any officer can assign a case follow-up.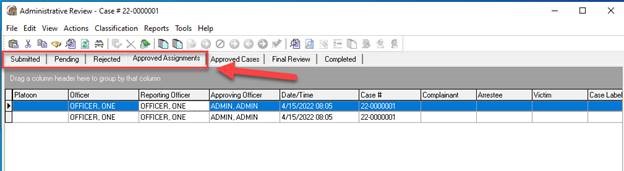
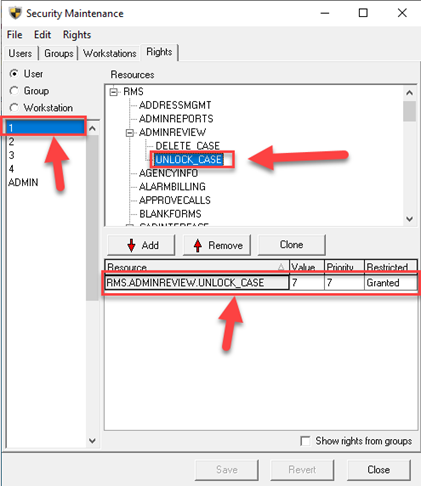
Optional Security Right
If your agency prefers that personnel have the ability to create a follow-up regardless of the case status, the “RMS.ADMINREVIEW.UNLOCK_CASE” right can be added to individual users through the Security Management module.