Person
Created by Russ Hartle, Modified on Fri, 12 Sep, 2025 at 3:49 PM by Russ Hartle
Super Master Name Index
The Super Master Name Index (SMNI) is a tool used to view personal information, physical descriptions, contact information, associations, aliases, affiliations, numbers and any photos for the selected person, from any department that has agreed to share data with your agency. The SMNI is also the most common way to look up related Calls-for-Service, Case Reports, and Criminal Complaints, from the sharing agencies.
Access to the Super Master Name Index can be granted or denied on an individual basis.
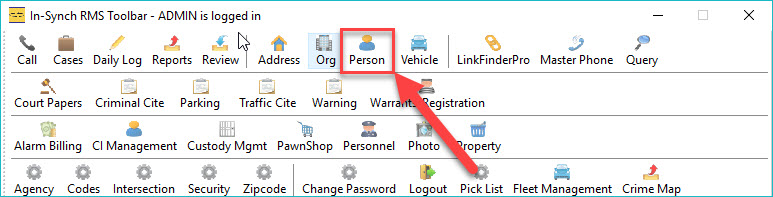
1. Click on the “Person” button from the main In-Synch RMS toolbar.
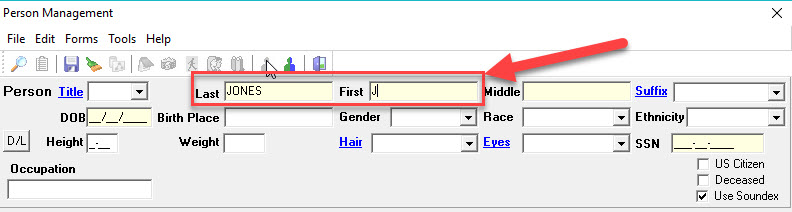
2. Enter part of the last name, first name, or a combination of both into the corresponding fields. It is the best practice to enter as much of the last name and/or first name until there could be spelling or data entry discrepancy. In this example, we are searching for Johnnie Jones. Because Johnnie could be entered as “Johnnie”, “Johnny”, “John”, etc., enter “JONES” into the last name field and “J” into the first name field.
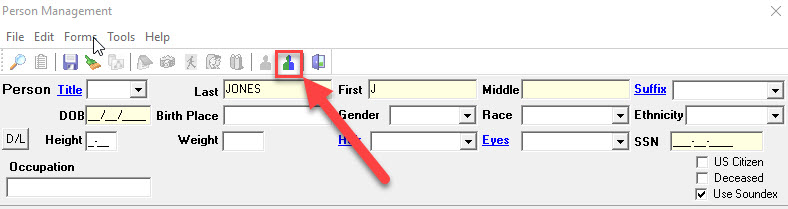
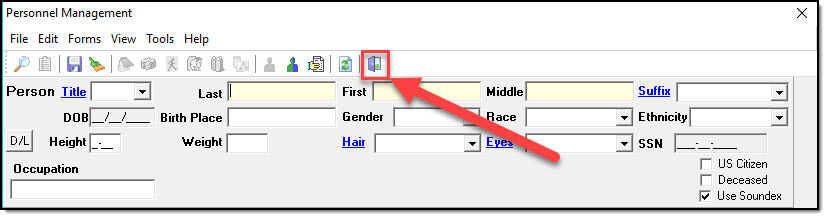
3. Click on the “SMNI” button at the top of the Person Management window.
4. The Data-Sharing Configuration window will open. The bottom grid shows a list of agencies that can be queried. Select the check box for each agency you wish to query.
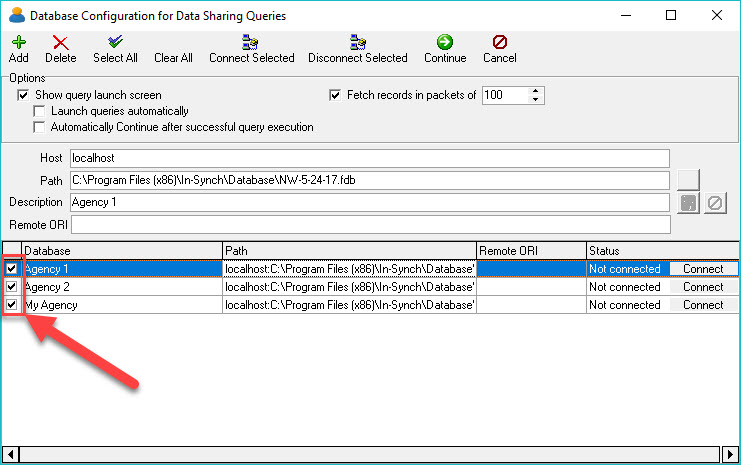
*Tips:
There are buttons for “Select All” and “Clear All” at the top of the Data-Sharing configuration window. These buttons can be used to select or deselect all of the agencies in the grid.
5. Click the “Connect Selected” button at the top of the Data-Sharing configuration window.

6. The status of the selected agencies will change to “Connected”.
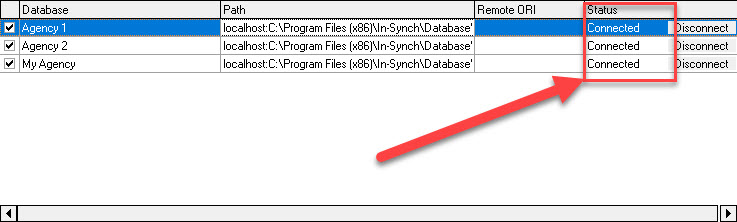
7. Click the “Continue” button at the top of the Data-Sharing Configuration window to proceed with the search.

8. Click the “Start” button on the Database Connectivity window.
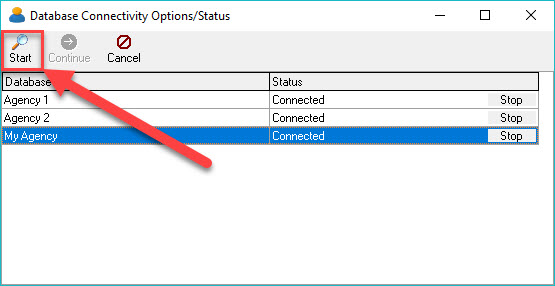
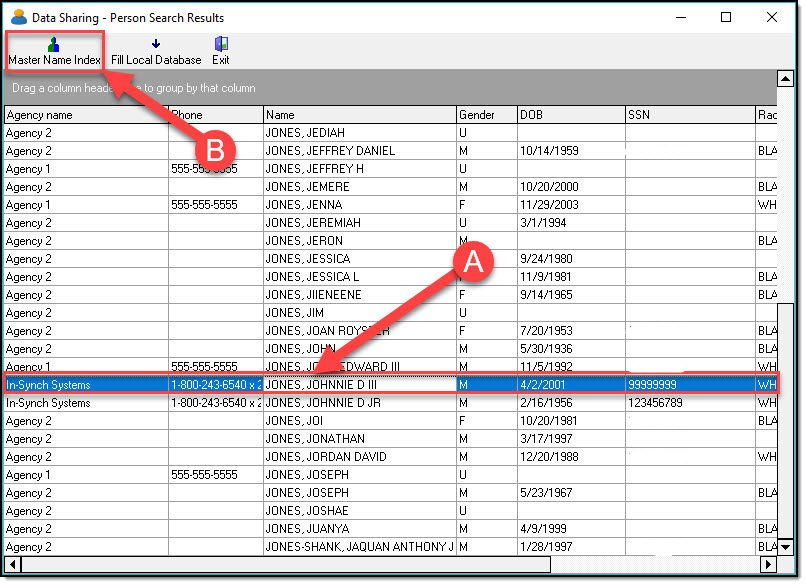
9. The number of matching records for each agency is returned in the Status field (A). Click the “Continue” button (B) to view the results.

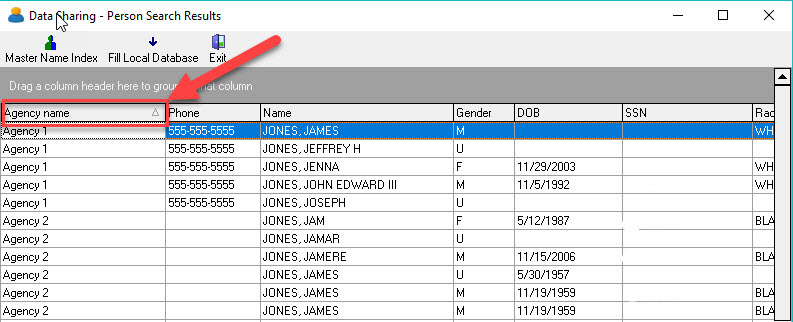
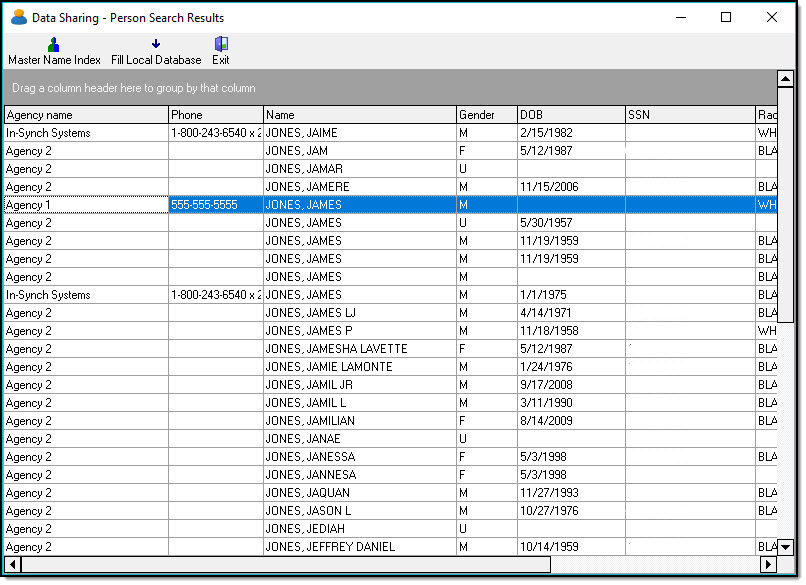
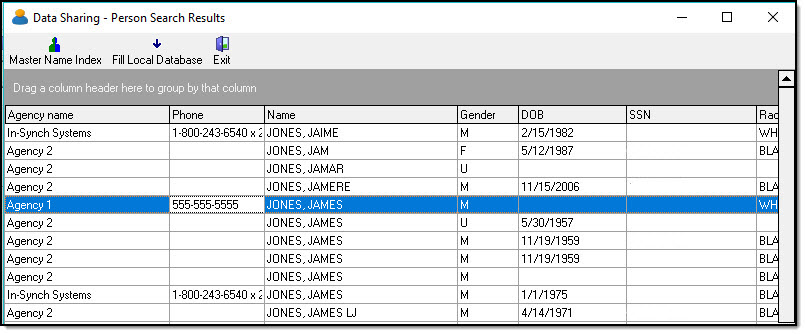
10. The results are returned in a grid. The grid contains fields for Agency Name, Agency Phone Number, Person Name, Gender, DOB, SSN, Race, etc.
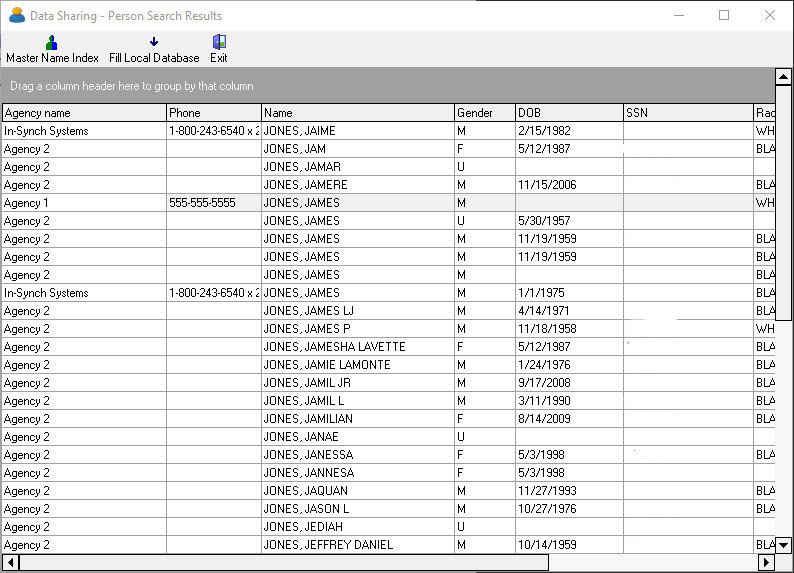
Sorting and Filtering the Results Grid
Sorting and filtering are useful for limiting the results when searching for a specific person record. The correct person record can be found by matching agency name, person name, DOB, SSN, or any other known details. The sort and filter options will help this process when a large number of results are returned.
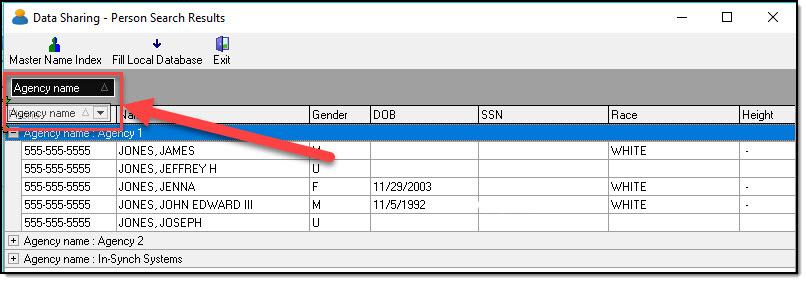
1. Each column can be sorted ascending or descending by clicking on the column header.
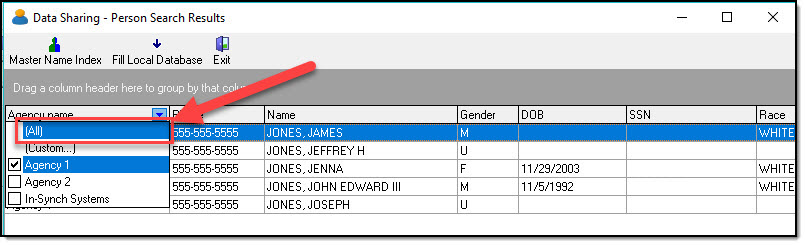
2. Clicking on the right side of a column header activates a drop down list for filtering the data for that column.
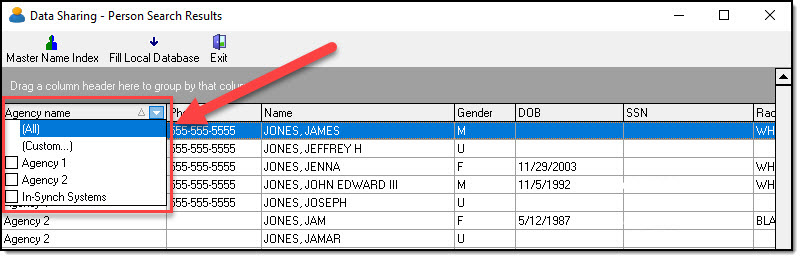
3. In this example, “Agency1” is selected from the filter drop down list.
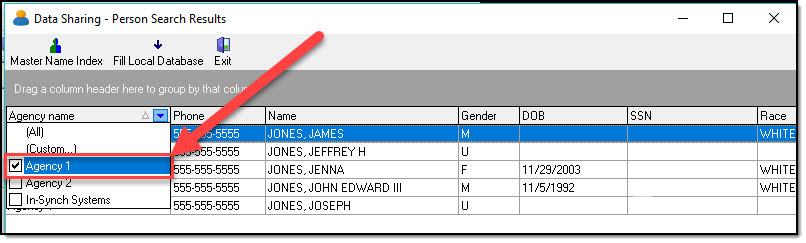
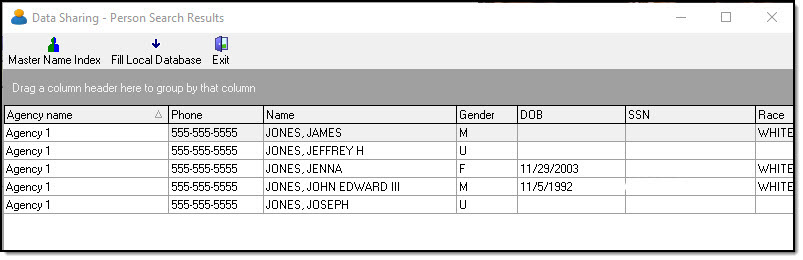
4. Only person records belonging to Agency1 are displayed in the results grid.
!Did You Know?
You can use filters in multiple columns to limit the records when large amounts of results are returned.
Clearing Filters
1. To clear a filter, click on the right side of the corresponding column header and select “All”.
2. The grid will return to all records for that column.
*Tips:
If a filter was used on more than one column, each filtered column must be set to “All” to reset the grid to the original results.
Grouping the Results
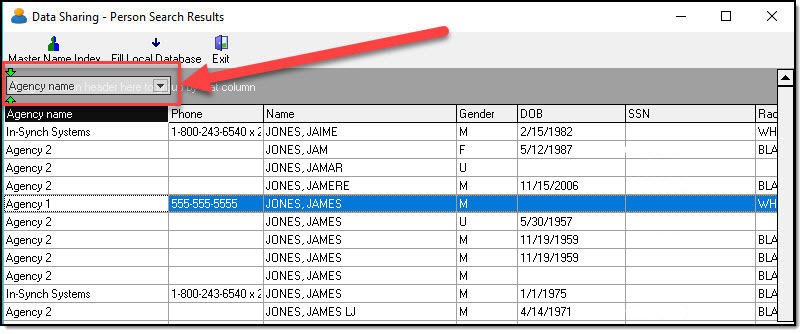
The results grid can be grouped by any of the column headers by dragging and dropping the column header in the gray area above the columns.
1. In this example, the results will be grouped by “Agency name”. The “Agency Name” column header is dragged to the gray area above the columns.
2. The results grid will reflect this grouping.
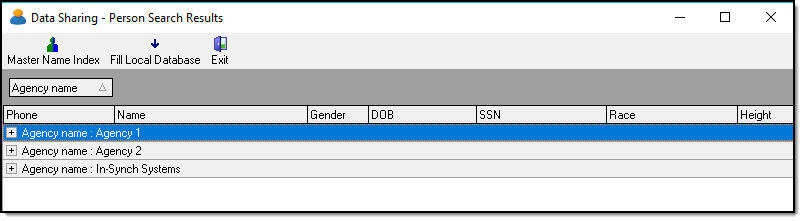
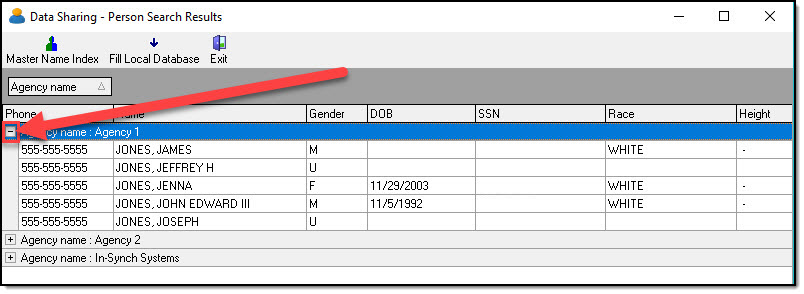
3. Each group can be expanded by the clicking the “+”.
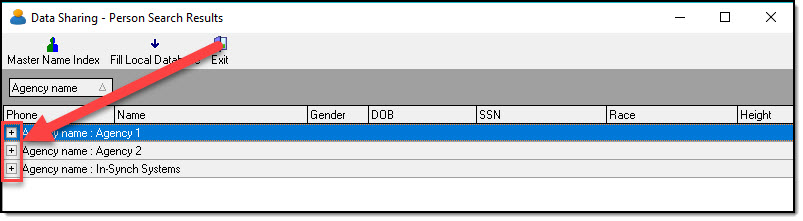
4. Each group can be compressed by clicking the “-“.
5. To remove the grouping, select the group from the gray area and drag it back to the column headers.
6. The results grid will return to its original state.
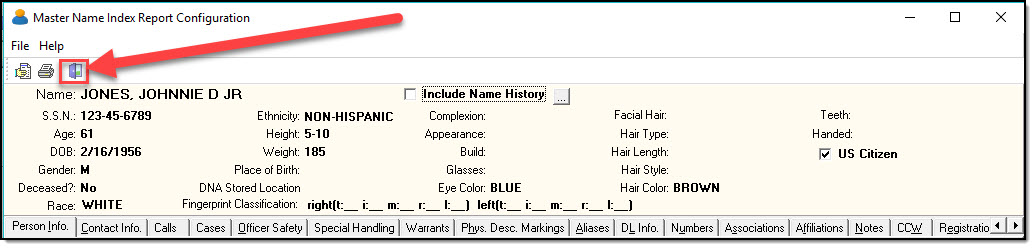
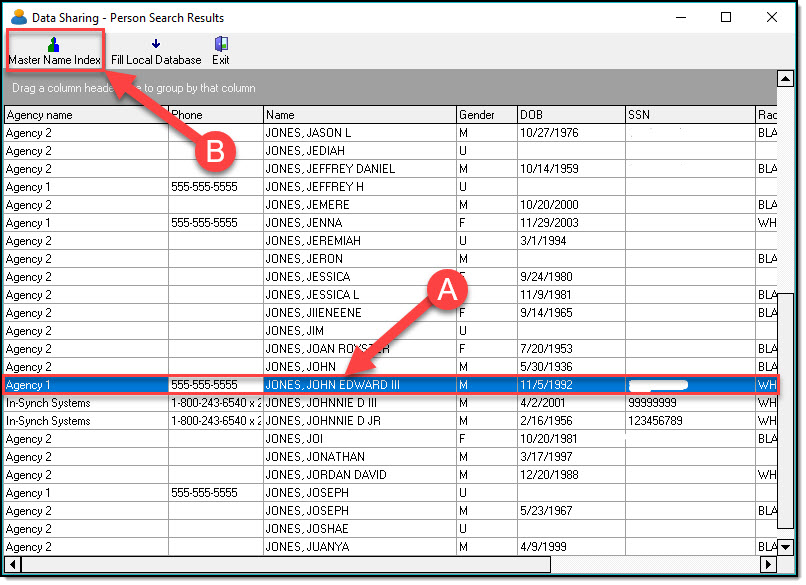
Viewing Master Name Index Information
1. Once the correct person record is located, highlight the record in the results grid (A), and then click the “MNI” button (B).
2. The SMNI will search and build the Master Name Index (MNI) for the selected record. This could take up to a few minutes depending on the amount of associated data with the record. Once the data is returned, the MNI window will open.
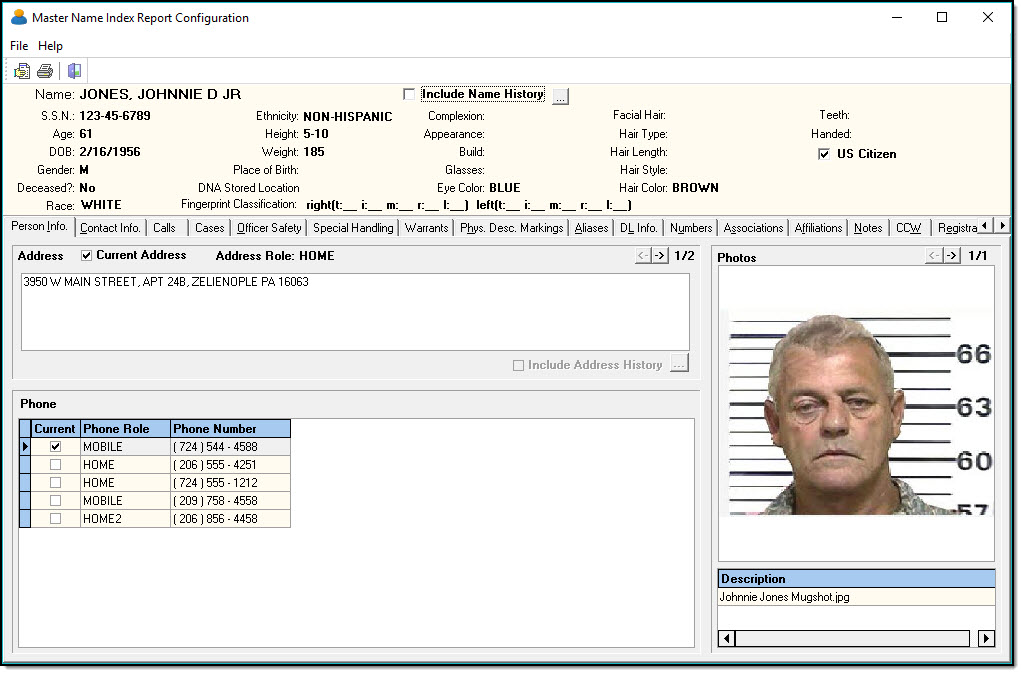
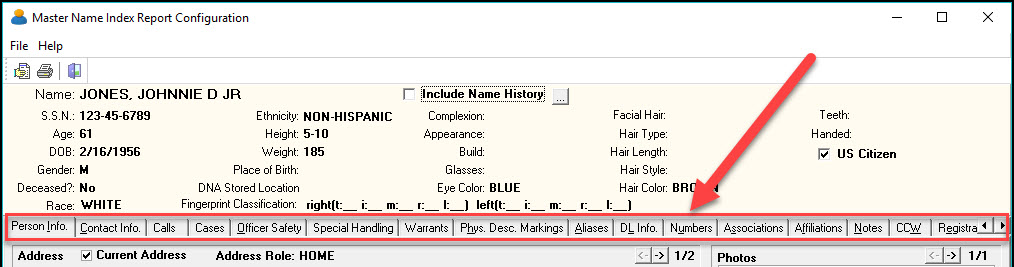
3. The MNI window consists of “Tabs”. Each tab contains a specific type of data for the person record. Tabs will only exist if the agency has recorded data related to the tab.
Viewing Case Information
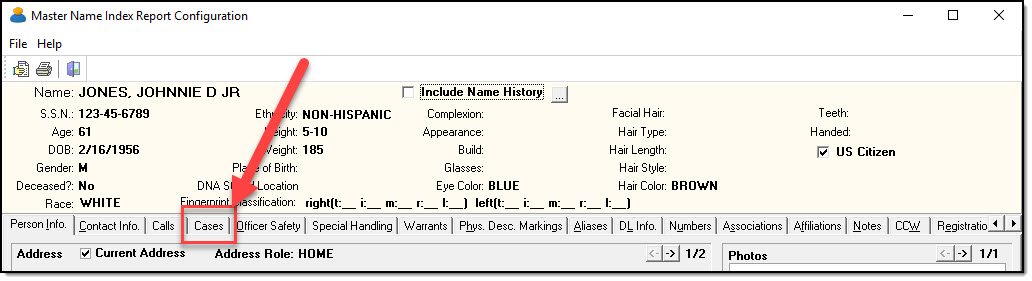
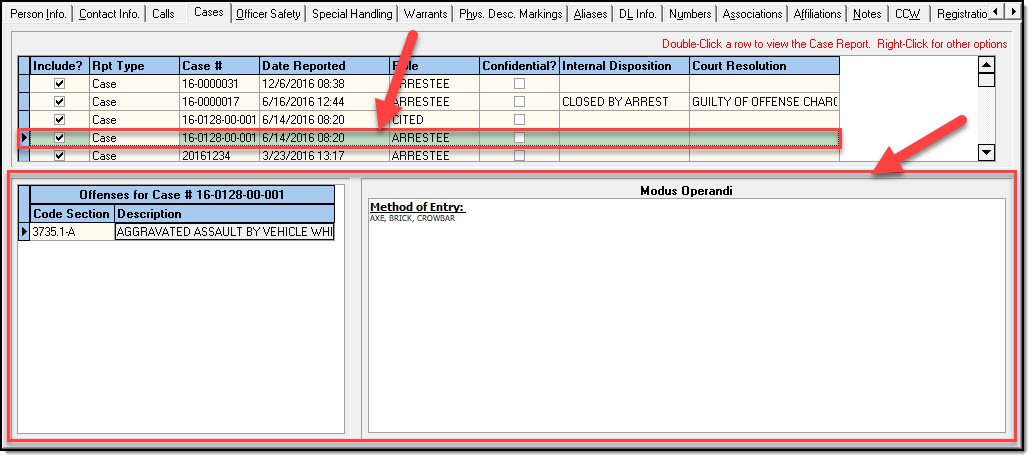
1. To view information about cases associated with the person, click on the “Cases” tab.
2. Select an individual case to view associated crimes and/or Modus Operandi information.
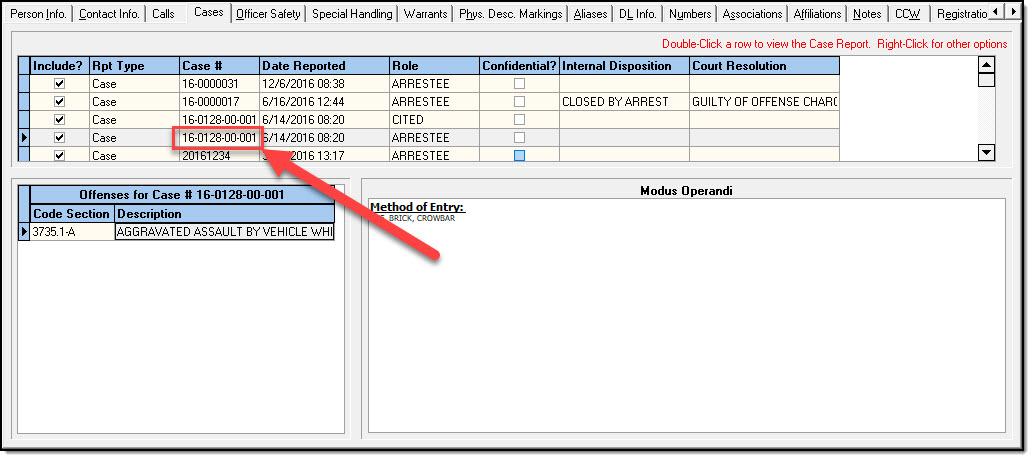
3. For agencies sharing full case reports, double-click the “Case #” from the grid to open the case report.
!Did You Know?
By default, case report previews are not viewable through SMNI. A preference is available to allow sharing agencies to view the reports.
Generally, the preference is reserved for the District Attorney’s Office or other prosecutors.
4. After double-clicking the Case #, the Reports to Print/Preview window will open.
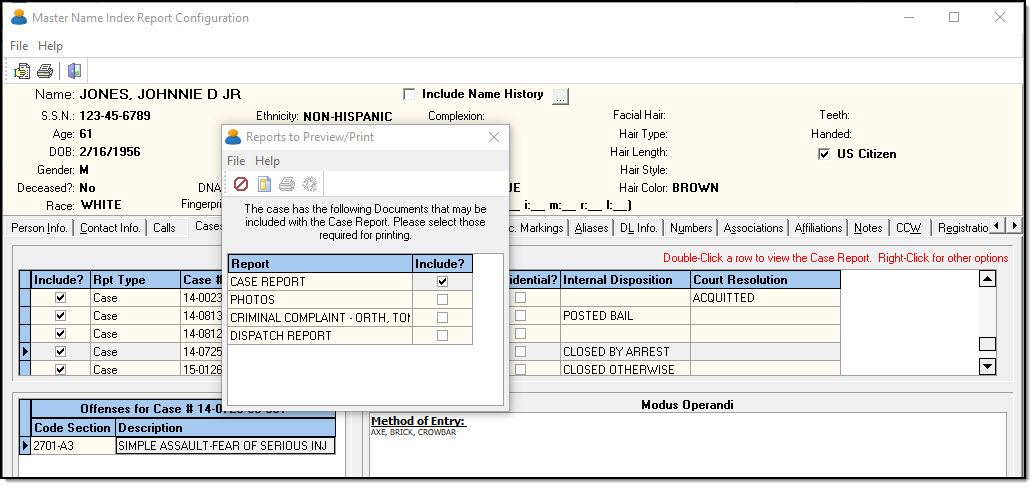
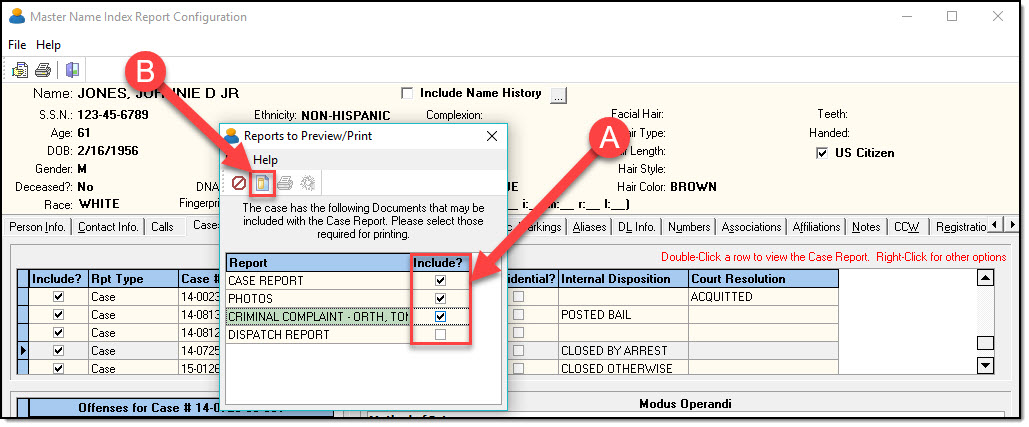
5. Select the items to preview using the “Include” check boxes (A), and then click the “Preview” button (B). Linked Documents will not be available for preview, as they are stored in a repository outside of the RMS database.
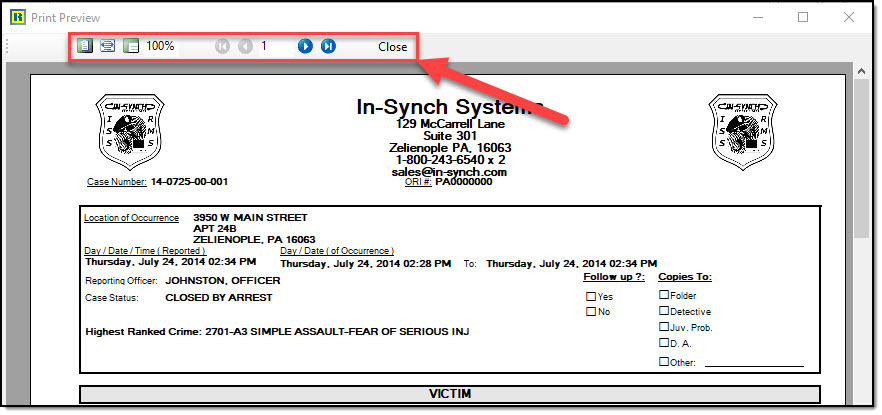
6. Print, email, page view, and navigation buttons are available at the top of the Print Preview window.
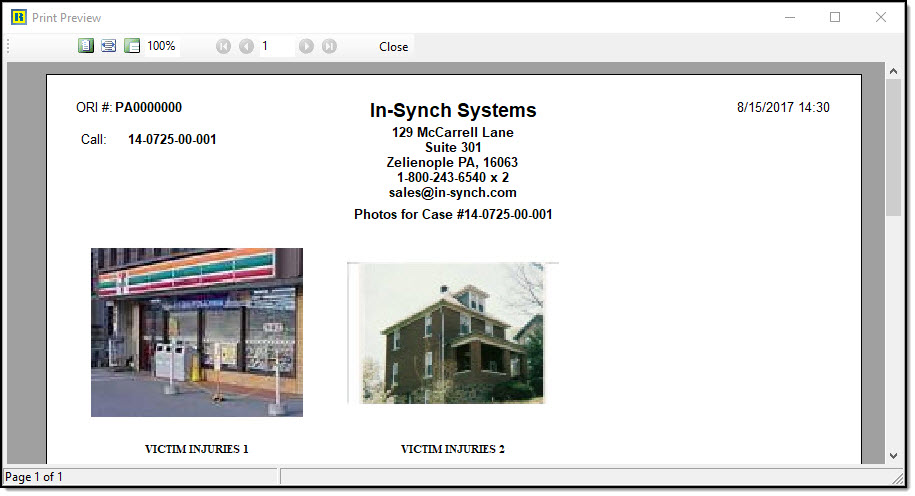
7. If Photos were included in the Reports to Preview/Print window, a separate print preview window will open after closing the case report preview.
8. If a Criminal Complaint was included in the Reports to Preview/Print window, a separate print preview window will open after closing the photos preview.

*Tips:
Each print preview window has its own controls for printing, emailing, page view, and navigation.
Zipping a Case Report
As a secondary option, the case report, photos, and criminal complaint(s) can be zipped into a file and saved to the computer. Linked Documents will not be available for zipping, as they are stored in a repository outside of the RMS database.
1. From the Reports to Preview/Print window, select the items to zip using the “Include” check boxes (A), and then click the “Zip” button (B).

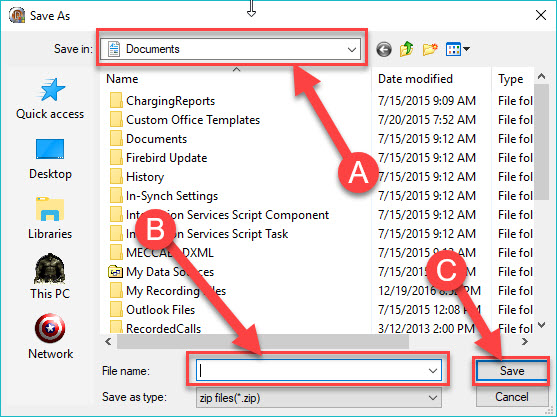
2. Navigate to your desired save location (A), enter a file name (B), and then click the “Save” button (C.).
3. A zip file will be created in your save location.
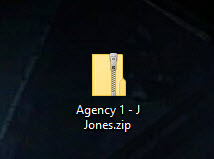
4. The zip file will contain the case report and any other included items as.PDF files.

Viewing a Different Person Record
1. If you wish to view a different person record from the results grid, close any print preview windows, and then click the “Exit” button on the MNI window.
2. Highlight the new person record in the results grid (A) and then click the “MNI” button (B).
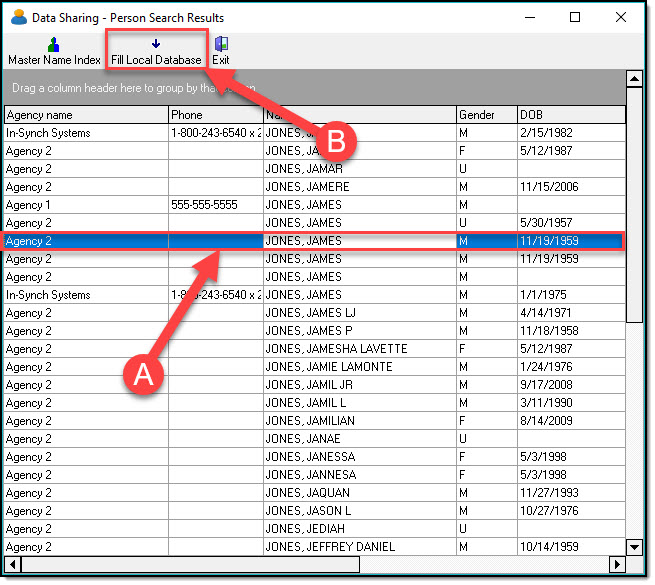
Filling Your Local Database with a SMNI Record
The SMNI has the ability to fill your local database with a shell record of the selected person. This record will only contain the basic demographic information for the person. * Contact history, associated addresses, phone numbers, photos, calls, cases, citations, etc. will not be imported.*
1. To import the shell person record to your database, highlight the record in the results grid (A), and then click on the “Fill Local Database” button (B).
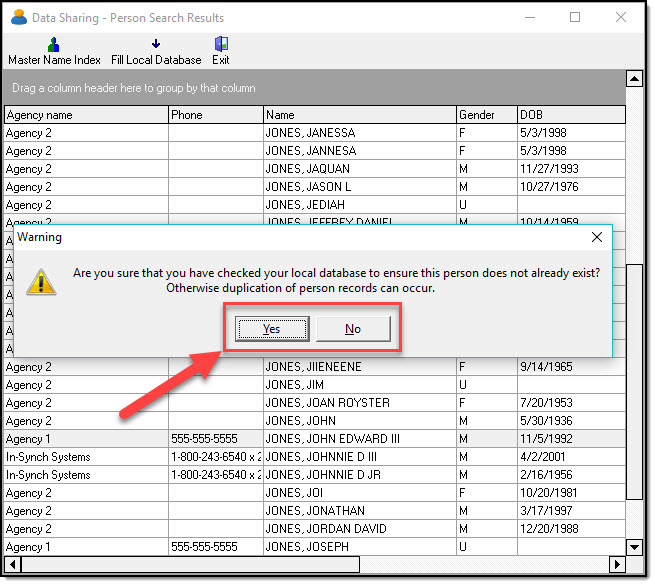
2. You will receive a warning message asking you to verify the person doesn’t already exist in your database. If the person does exist in your database a duplicate record will be created. In this example, the “Yes” button was selected to import the record.
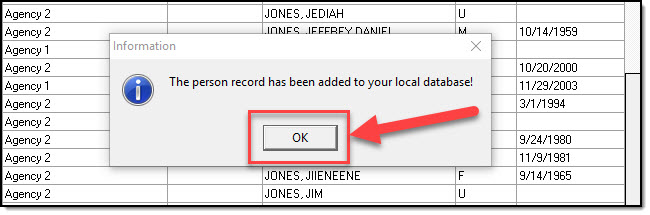
3. Click the “OK” button on the Information window.
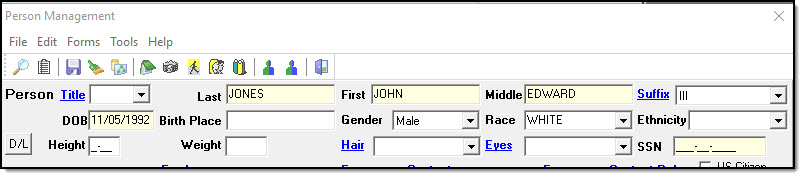
4. Just the basic demographic information such as last name, first name, middle name, DOB, gender, race, SSN is imported.
Exiting the SMNI
1. To exit the SMNI, close any open print preview or MNI windows, and then click the “Exit” button on the SMNI results grid.

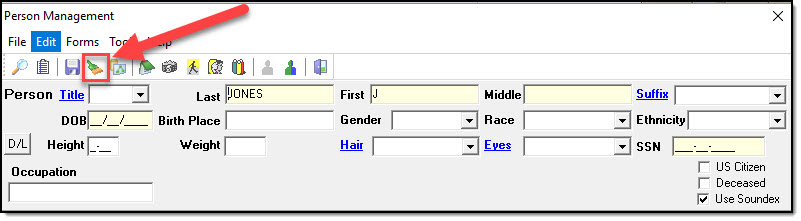
2. This will return you to the Person Management window. Use the “Clear” button if you wish to enter and search for a new person record.
3. When finished using SMNI, click the “Exit” button on the Person Management window.
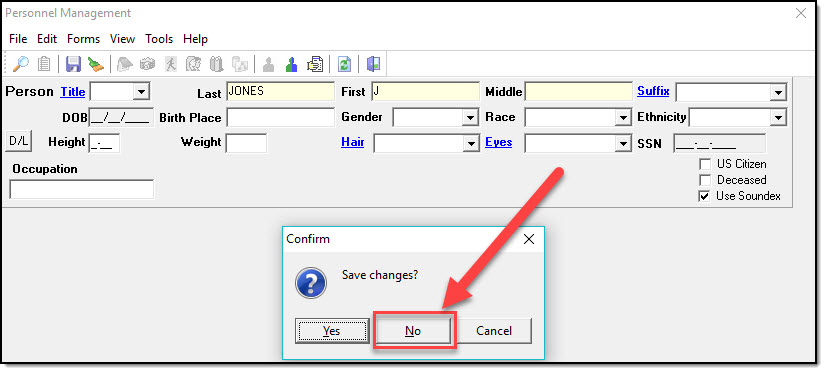
4. If prompted to save changes, click the “No” button.