No recent searches
Popular Articles

Sorry! nothing found for
Adding Case Photos
Created by Russ Hartle, Modified on Thu, 22 May, 2025 at 3:50 PM by Russ Hartle
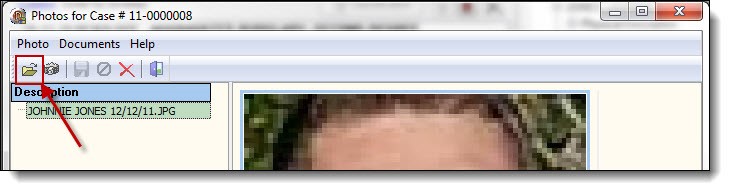
1. Click on the Details drop down list, and select “Photo” to open the Photos window.

2. Click the “Add from File” button to browse the computer for a photo.
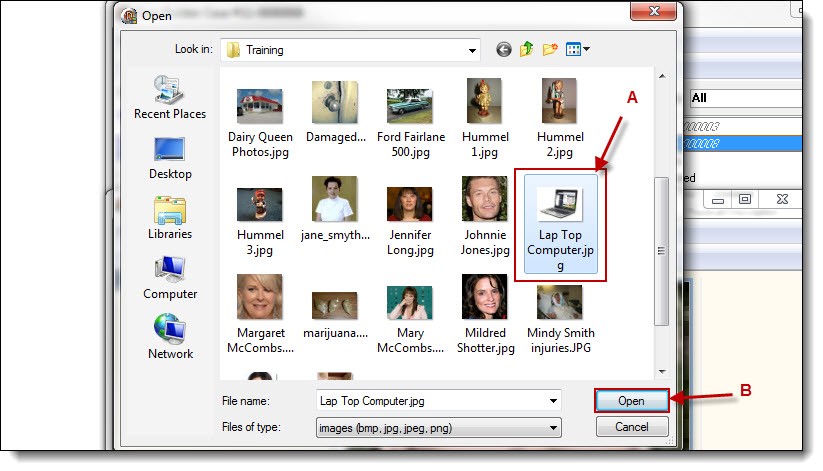
3. Browse to the photo’s storage location. Select the photo you wish to add to your case (A), and then click the “Open” button (B).
 !Did You Know?
- Photos can be added from the local machine, USB drives, Network drives, etc.
- Case Photos are saved into the database; however, they are compressed to save space. Users should always have a safe location to store the original photos.
- There are training pictures located in “C:\Program Files\In-synch\Training” (or in “C:\Program Files (x86)\In-Synch\Training” if you are using a 64-bit operating system). Remember to select thumbnails or icons if you wish to preview the pictures before adding them.
- If you wish to add more than one photo at a time, hold down the “Ctrl” button while you are selecting the photos. If you wish to add all photos from a specific location, you may use the Windows shortcut key of “Ctrl+a” to select all of the photos, then click the “Open” button.
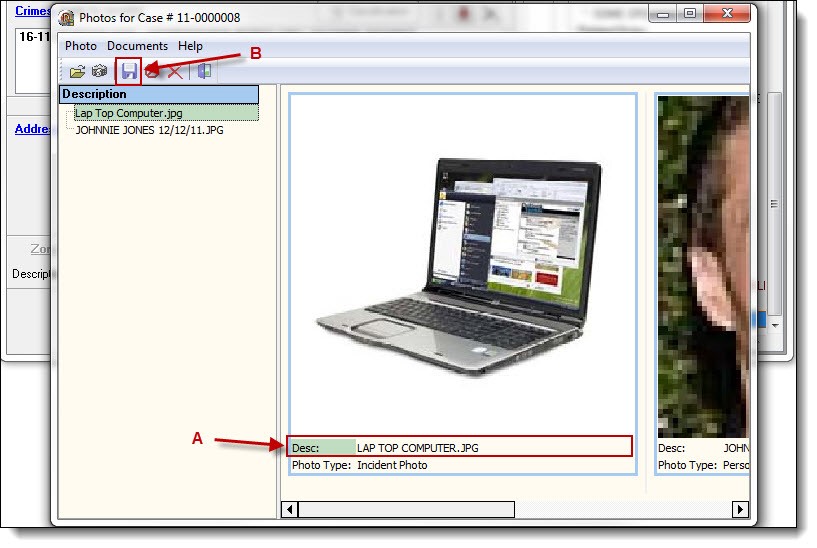
4. Enter a proper photo description (A), and then click the “Save” button (B), to save the photo(s) to the case.
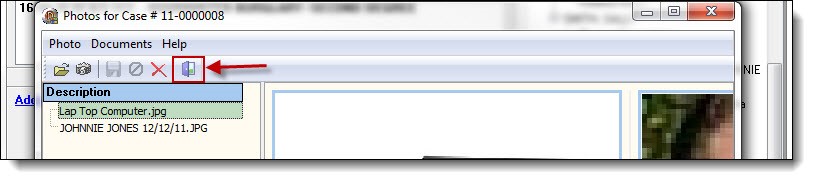
5. Once all of the photos have been added, click the “Exit” button to close the Photos window.
Was this article helpful?
That’s Great!
Thank you for your feedback
Sorry! We couldn't be helpful
Thank you for your feedback
Let us know how can we improve this article!
Feedback sent
We appreciate your effort and will try to fix the article
X