No recent searches
Popular Articles

Sorry! nothing found for
Adding Case Property/Roles
Created by Russ Hartle, Modified on Thu, 22 May, 2025 at 3:52 PM by Russ Hartle
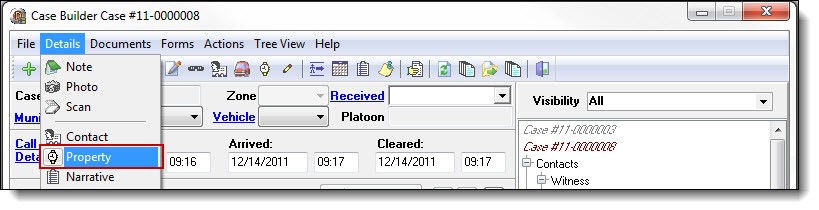
1. Select “Property” from the Details drop down list.
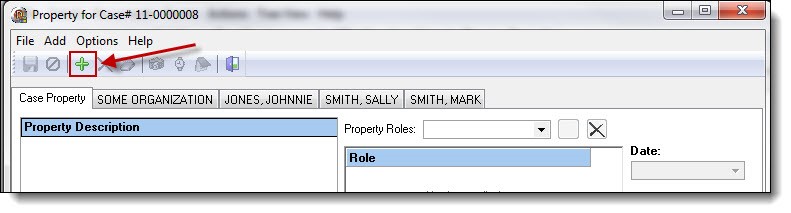
2. From the Property window, click the “Add” button to create a new piece of property.
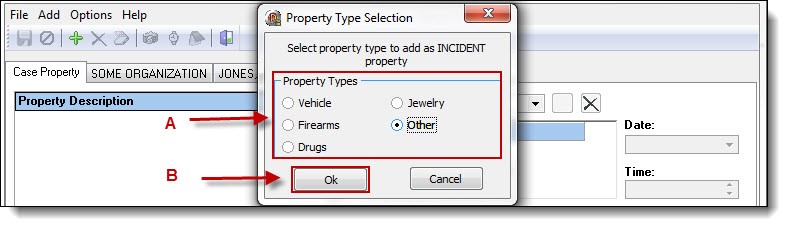
3. Use the radio buttons to select a type of property (A), and then click the “Ok” button (B).
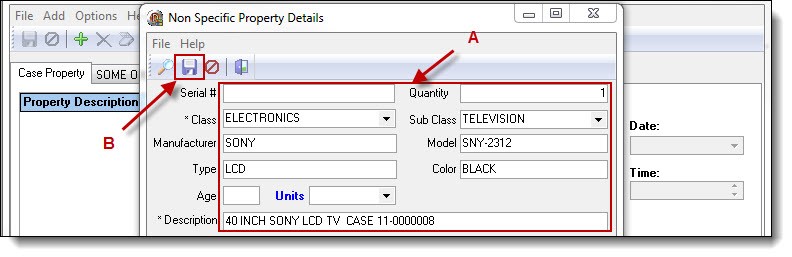
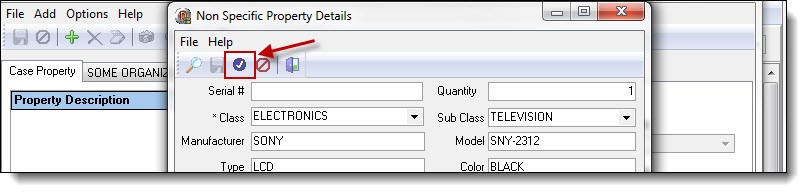
4. Enter the property details (A), and then click the “Save” button (B) to save the property record.
 !Did You Know?
- Certain detail fields are required to save case property. These fields can include Quantity, Class, Description, Sub Class, etc. As with any item in the RMS, the best practice is to enter information into as many of the fields as known.
- For property that has already been entered into the database, the user can enter the serial # or a unique description, to search for the existing property record.
5. Click on the “Choose” button to add the property to the case.
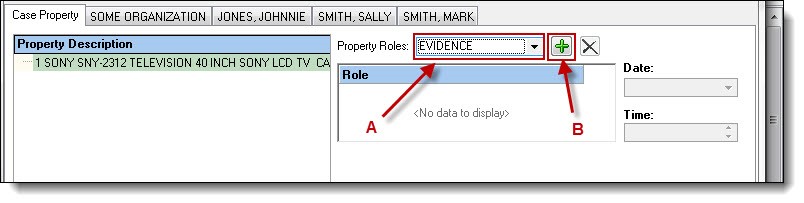
6. Every piece of property should have at least one property role associated with it. Select a role from the Property Role drop down list (A), and then click the “Add” button (B).
 *Tips:
- The role of “STOLEN” will ask if you want to add the property to a hot-list.
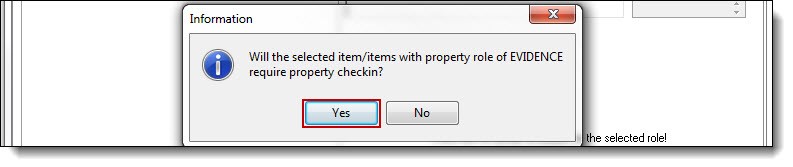
- The roles; “EVIDENCE”, “FOUND”, “IMPOUNDED”, and “RECOVERED”, will ask if the property requires check-in.
7. If the property is in possession of the agency and is going to the evidence room or temporary evidence locker, click “Yes” in the information box.
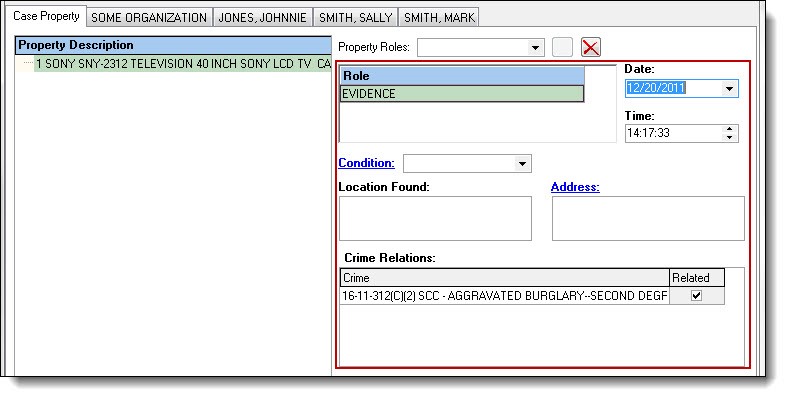
8. Enter the role details such as; Date/Time, Condition, Location Found, Crime relations, etc.
9. Property being checked-in requires a location to be listed in order to start the chain of custody. Click the “Add” button in the Custody Information section to select a storage container.

10. Select a Property Container from the drop down list (A), then click the “Choose” button (B).
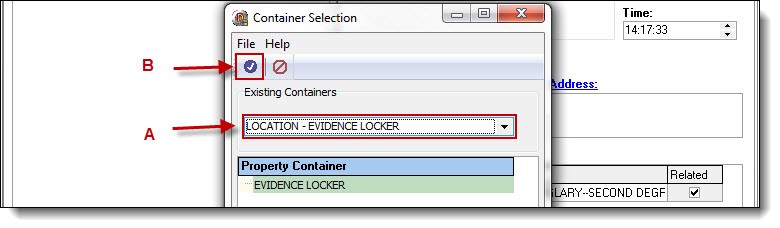
11. Click the “Save” button to save the property and role to the case.
 !Did You Know?
- Repeat steps 1-11 for each piece of property in the case.
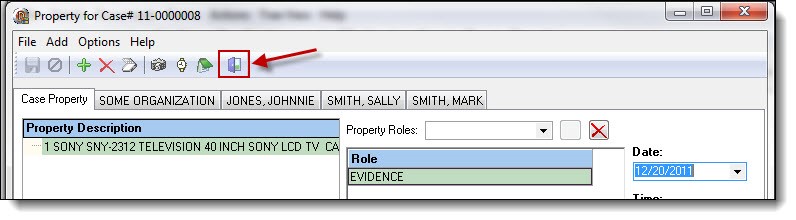
- Notes, photos, and scanned documents can be attached to property by using the corresponding buttons at the top of the Property window.
- Property can be associated to the contacts in the case. After an item has been entered as case property, the user can drag the item onto one or more of the contacts tabs in the Property window to associate the item with the contact.
12. Once all of the property has been entered into the case, click the “Exit” button to exit the Property window and return to the main Case Builder window.
Was this article helpful?
That’s Great!
Thank you for your feedback
Sorry! We couldn't be helpful
Thank you for your feedback
Let us know how can we improve this article!
Feedback sent
We appreciate your effort and will try to fix the article
X