Adding Property to a Call
Created by Kris Wahler, Modified on Fri, 9 May, 2025 at 12:35 PM by Kris Wahler
Call Property
Property items can be linked to calls-for-service in the RMS. These property items can be given roles, values, photos, notes, etc. If the call-for-service is ever escalated into a full case report, the property items will automatically move into the Case Builder module.
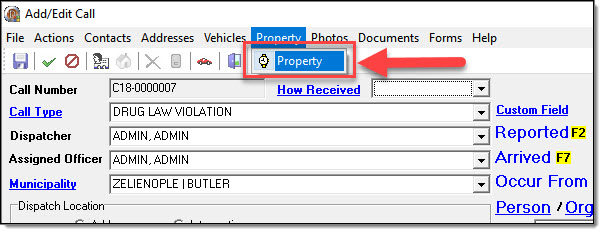
1. To open the Call Property window, select the “Property” option from the Property drop down list on the Add/Edit Call window.
Adding Call Property
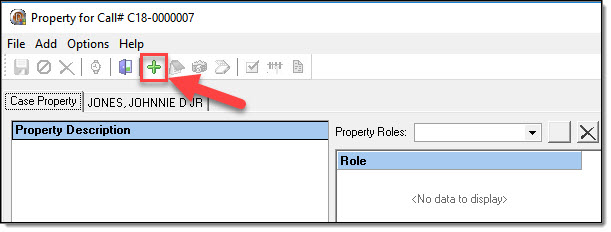
1. From the Property window, select the “Add” button to create a new piece of property.
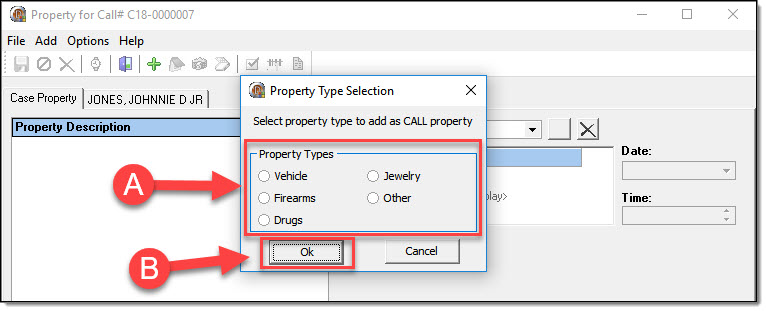
2. Use the radio buttons to select a type of property (A) and then select the “OK” button (B).
 !Did You Know?
The following list contains the searchable fields for the property types:
- Vehicle – License Plate Number, State, VIN, Vehicle Type, Make, Model, Year, Style, Color 1, NIC Number, Owner, Owner 2
- Firearms – Serial #, Manufacturer, Caliber, Action, Type, Color, Owner, Owner 2
- Drugs – Not searchable, as the same drug property would rarely (if ever) be used in more than one incident
- Jewelry – Serial #, Sub Class, Type, Manufacturer, Model, Number of Stones, Carats, Shape, Description, Owner, Owner 2
- Other (Non-Specific) – Serial #, Class, Sub Class, Manufacturer, Model, Description, Owner, Owner 2
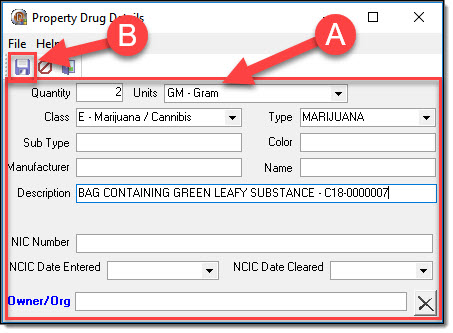
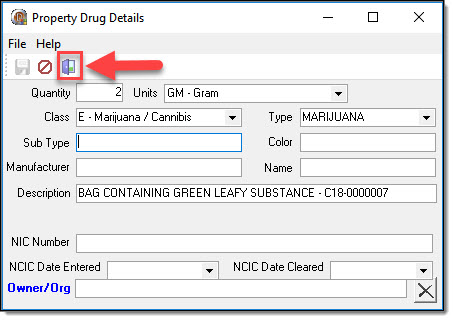
3. In this example, Drug property will be added to the call-for-service. Enter the property details (A), and then click the “Save” button (B) to save the property record.
*Tips:
Certain detail fields are required to save a new call property record. These fields can include Quantity, Class, Description, Sub Class, etc. As with any item in the RMS, the best practice is to enter as much information as is known.
4. Select the “Exit” button from the Drug Property Details window.
 !Did You Know?
For the Vehicle, Firearms, Jewelry, and Other (Non-Specific) property types, you must select the “Choose” button on the details window. Drug property doesn’t have a choose button because the property doesn’t go through the search process.
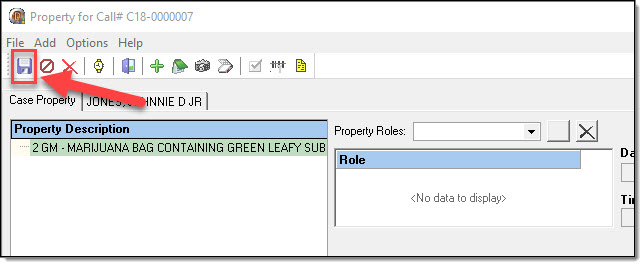
5. On the Call Property window, select the “Save” button to save the changes.
Adding Property Roles
Each piece of property associated to the call-for-service should have at least one associated property role. If you are utilizing the RMS for UCR or IBR reporting purposes, please be aware that certain roles may be required once a call is escalated into a case.
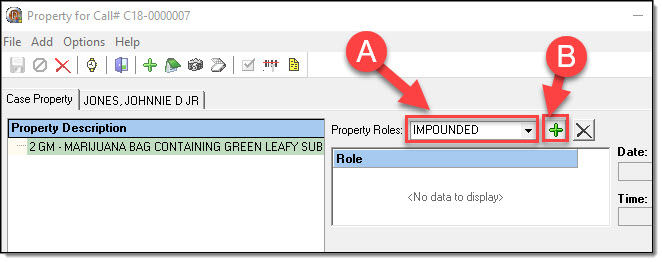
1. Select a role from the Property Role drop down list (A), and then click the “Add” button (B).
 *Tips:
- The role of “STOLEN” will ask if you want to add the property to a hot-list.
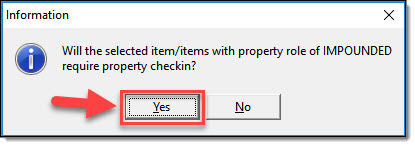
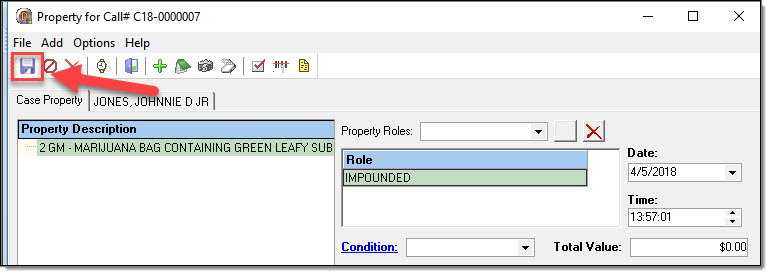
- The roles; “EVIDENCE”, “FOUND”, “IMPOUNDED”, and “RECOVERED”, will ask if the property requires check-in.
2. If the property is in possession of the agency and is going to the evidence room or temporary evidence locker, click “Yes” in the information box.
3. Enter the role details such as Date/Time, Condition, Location Information, Value, etc.

4. Select the “Save” button on the Call Property window to save the changes.
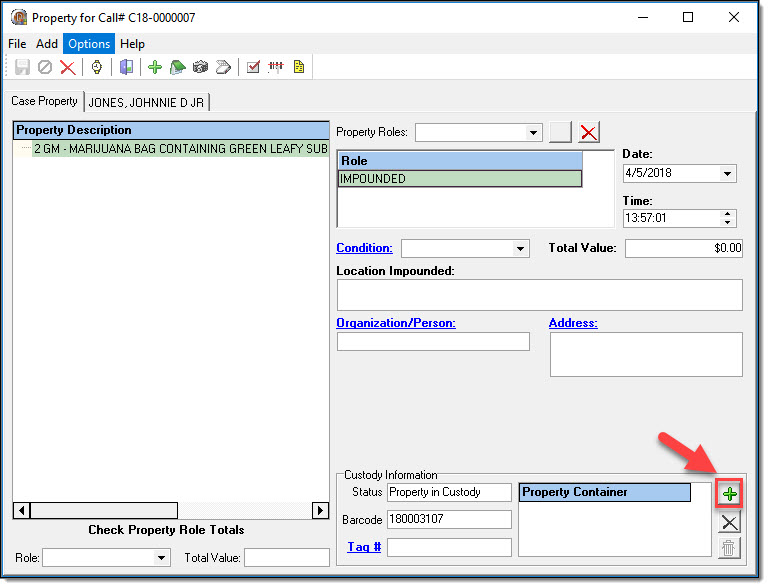
Adding Property Custody Information
The Custody Information section of the Call Property window stores information regarding the Status of the Property, Barcode Information, Tag #, and Storage Container Location. Property being checked-in requires a storage location to be entered, in order to start the chain of custody. Explanations of these fields can be found below:
- Status– Displays the status of the property item. The displayed status depends on the property role selected and any movement by the property technician.
- Property not in Custody – The property is not in your agency’s control and was not brought back for storage. E.g. The property was returned to the owner on-scene.
- Property in Custody – The property is in your agency’s control. E.g. The property was taken by your agency and was placed in a temporary evidence locker (or equivalent).
- Checked In – The property technician has removed the item from a temporary evidence locker (or equivalent) and checked it into a permanent storage location through the software.
- Checked Out – The property technician has temporarily removed the item from its permanent storage location. E.g. The item has been checked out to be sent to court or to the lab for testing.
- Disposed Of – The property technician has permanently removed the item from its storage location. E.g. The item was returned to the owner, disposed of by auction, or disposed of by destruction.
- Barcode – Automatically generated barcode for agencies utilizing the (optional) RMS evidence package for labeling and scanning.
- Tag #– A field to enter a property tag number for agencies not utilizing the (optional) RMS evidence package for labeling and scanning.
- Select the blue hyperlink for Tag # to activate the field for data entry.
- Property Storage Container – Storage Container name/location for property items requiring check-in. Follow the steps below for instructions on selecting a Property Storage Location.
1. Select the “Add” button in the Custody Information section to select a storage container.
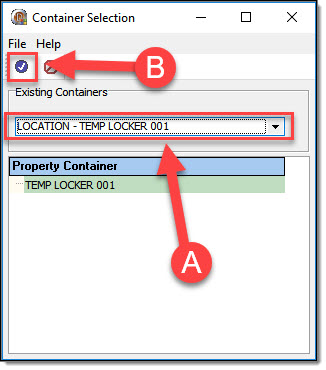
2. Select a Property Container from the drop down list (A), then click the “Choose” button (B).
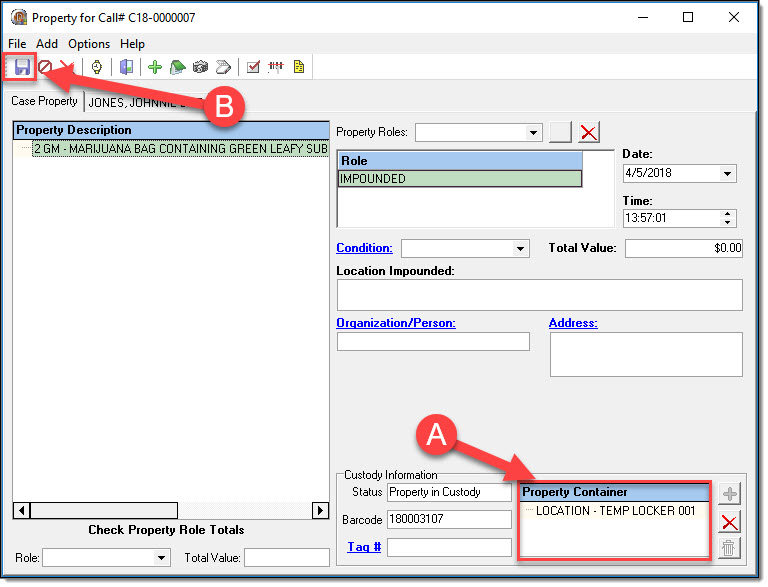
3. The storage container will be added to the grid (A). Select the “Save” button (B) to save the changes.
Property Notes
Individual property items can have notes attached. Please be aware that these notes do not function in the same manner as other notes in the RMS. Property notes will display on the Property page of the Case Report!
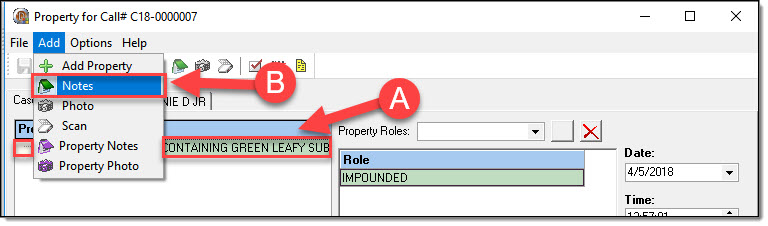
1. To add or view property notes, highlight the property item in the grid (A) and then select the “Notes” option form the “Add” drop down list (B).
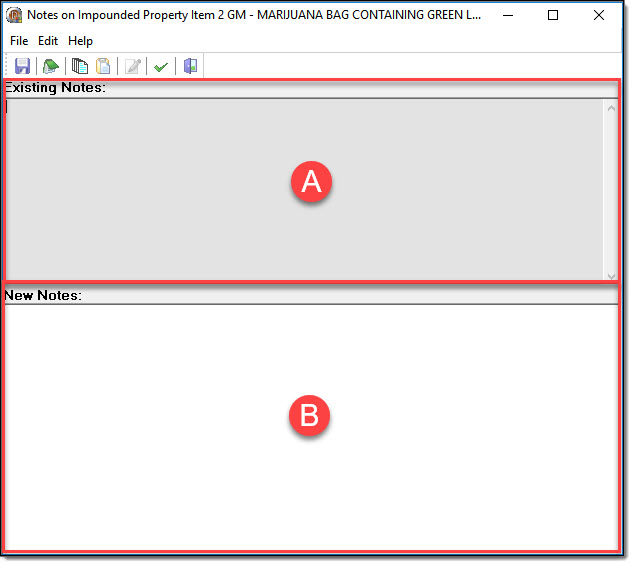
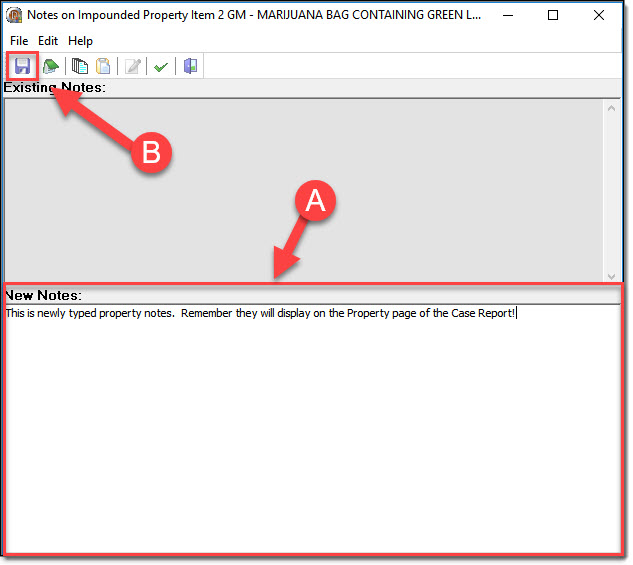
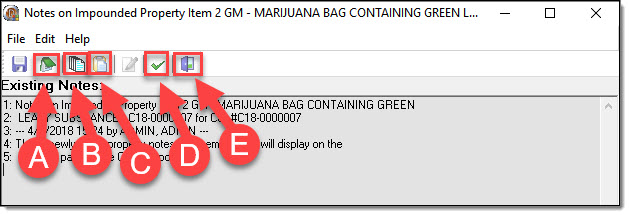
2. Existing property notes will be displayed in the top section of the Property Notes window (A). New notes can be entered directly into the bottom section of the Property Notes window (B).
3. After entering new notes, select the “Save” button on the Property Notes window to save the changes.
4. Select the “Yes” button on the Confirmation window.

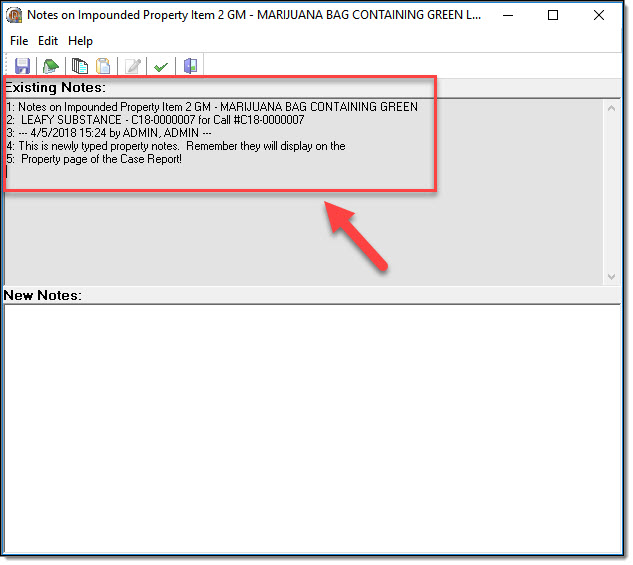
5. The notes will be added to the “Existing Notes” section and automatically stamped with the date/time and the user that created the notes.
6. There are options at the top of the Property Notes window for the following functions:
- Edit Existing Notes (A) – This allows RMS administrators to edit notes that might have been inadvertently entered.
- Copy (B) – Copy text to the computer’s clipboard.
- Paste (C ) – Paste text from the computer’s clipboard.
- Spell Check (D) – Spell check the text. This option should be used before saving the property notes.
- Exit (E) – Close the Property Notes window.
Property Photos
Users can attach photos to individual property items. If a call-for-service is escalated into a case, these photos will display on the Property page of the Case Report.
!Did You Know?
When photos are added to items in the RMS they are compressed to save space. This compression process lowers the size and resolution of the image. You should always store the original images per your agency’s standards. If you need the full resolution images, the best practice is to attach the images as an external document from the Add/Edit Call window.
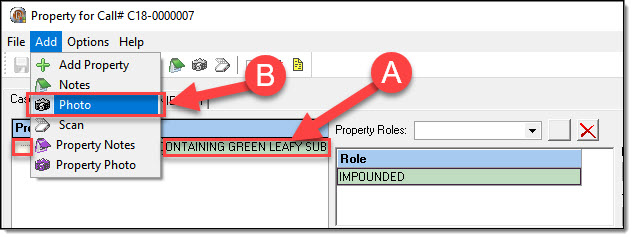
1. To add an image to a property item, highlight the item in the grid (A) and then select the “Photo” option under the Add drop down list (B).
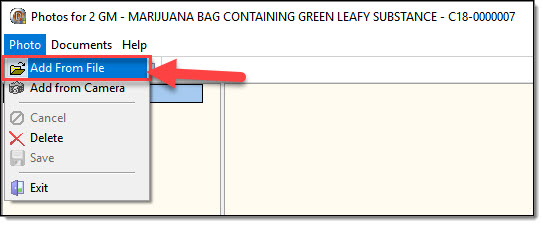
2. On the Photo window, select the “Add From File” option under the Photo drop down list.
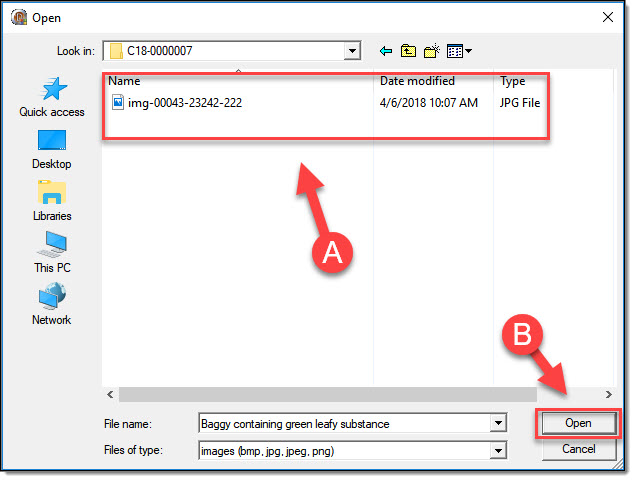
3. In the Open File dialog window, browse to and select the desired photo (A) and then select the “Open” button (B).
 *Tips:
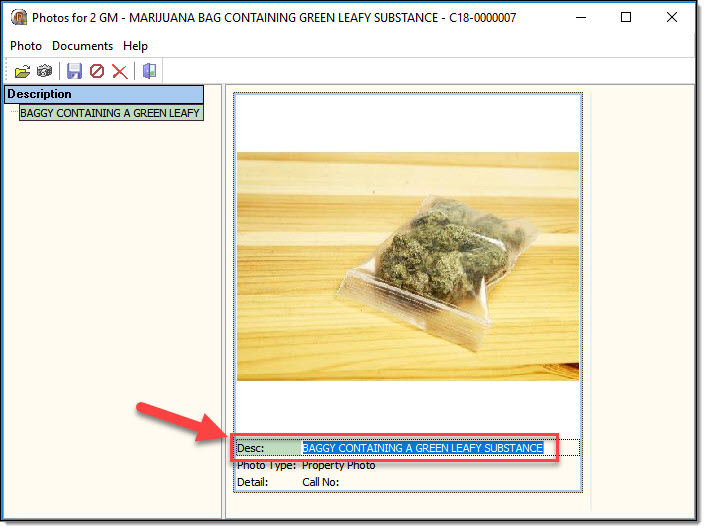
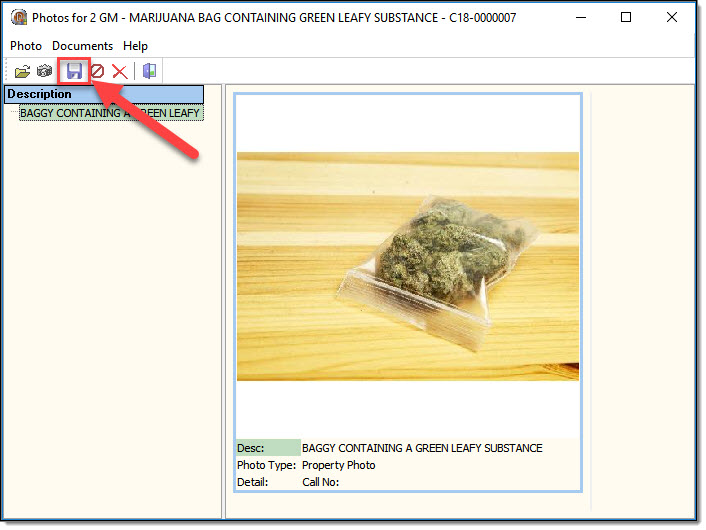
4. Select the “Save” button on the Photos window to save the changes.
 !Did You Know?
- Repeat steps 1-4 for any additional photos.
- Multiple photos can be selected/added at the same time by using Windows built-in keyboard shortcuts:
- Ctrl and left-click – to select multiple files
- Shfit and left-click – to select a range of files
- Ctrl + a – to select all files in a location
Add from Camera
The “Add from Camera” option is a legacy function for importing photos from cameras with Twain compliant drivers. Most modern cameras are recognized as USB devices, therefore the files are accessed through the “Add from File” option.
Preview/Print Call Property Photos
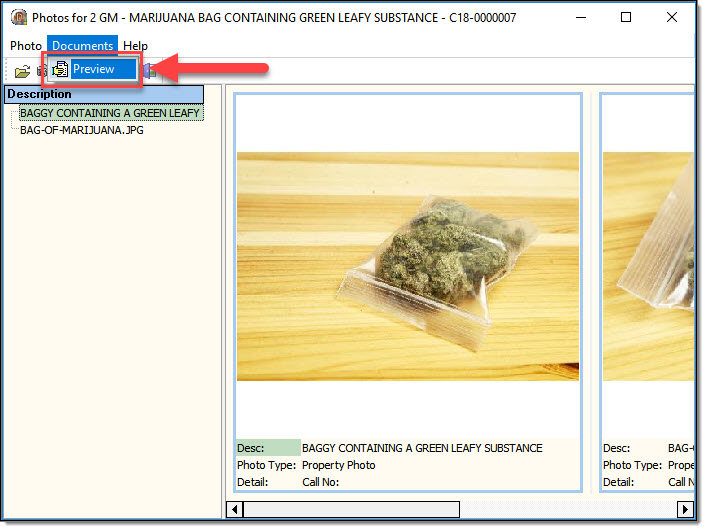
1. Once photos have been added (and saved) to the property item(s), select the “Preview” option from the Documents drop down list to view the print preview.
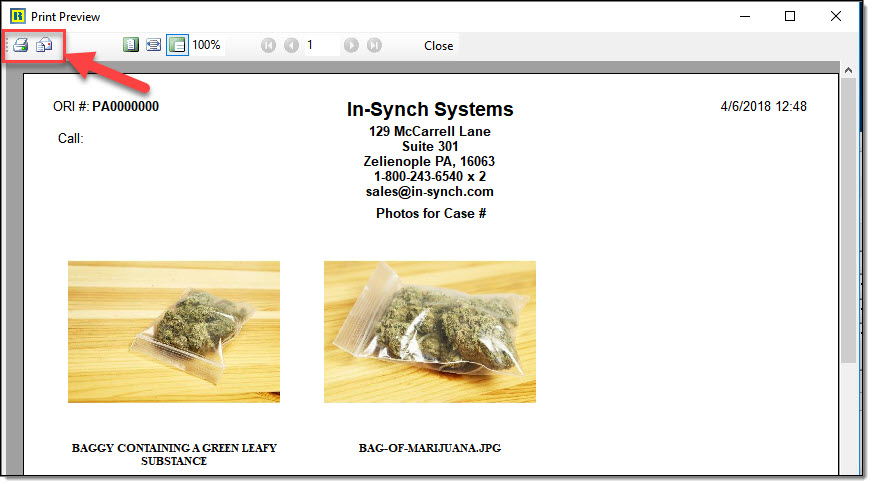
2. Print and email options are available in the upper left-hand corner of the Print Preview window.
Deleting Property Photos
1. Occasionally, photos may get added to the wrong property item or a user may need to remove a photo. To delete a property photo, highlight the property item in the grid (A) and then select the “Delete” option found under the Photo drop down list (B).

2. On the Confirmation window the user will have the following choices:
- Yes – Removes the property photo from the call and the property item
- No – Removes the property photo from the call, but the photo is still attached to the property item and visible in other areas of the RMS such as the Master Property Index and the Property Management module
- Cancel – Cancels the deletion of the photo
In this example, we want to remove the photo completely, so the “Yes” button is selected.

3. The selected photo will be removed from the Photos grid.