No recent searches
Popular Articles

Sorry! nothing found for
Creating a New Court Paper Entry
Created by Russ Hartle, Modified on Fri, 20 Jun, 2025 at 2:46 PM by Russ Hartle
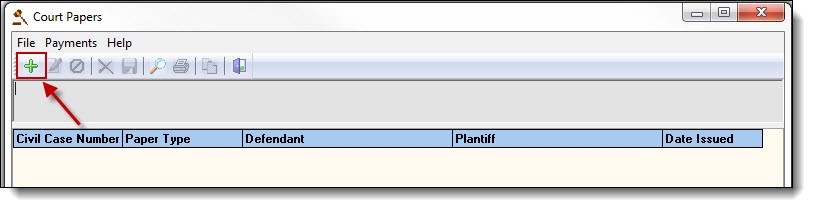
1. From the main Court Papers window, click the “Add” button to start a new paper.
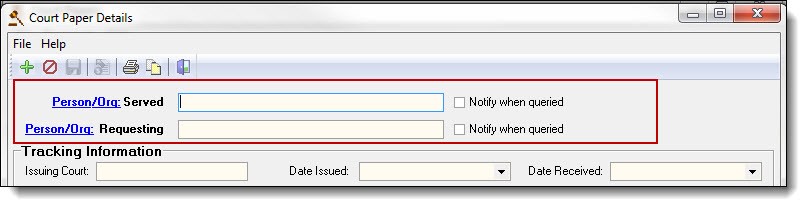
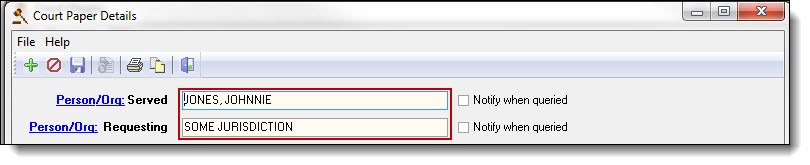
2. The first section of the paper is for recording the Person/Org to be served (Defendant) and the Person/Org requesting service (Plaintiff). Click on the word “Person” to search for a person contact.
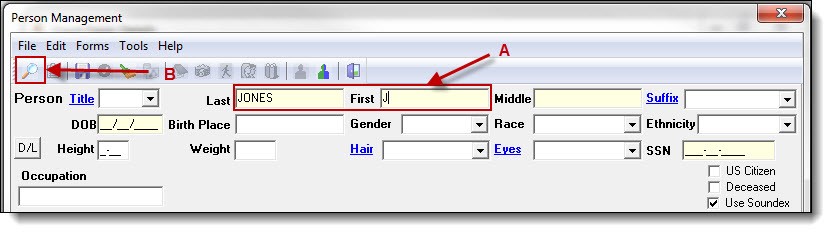
3. Enter part of the person’s last name, first name, or both (A), then click the “Search” button (B) to see if the person exists in the database.
4. Follow steps 3a-4a from the Searching and Entering a New Person section of the Person Management guide for details on saving a new person record or choosing an existing person record.
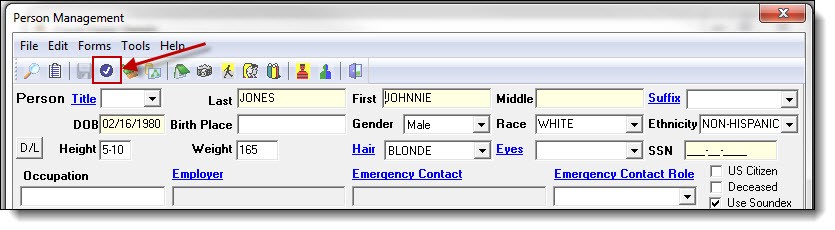
5. Once a person record has been created or chosen, click the “Choose” button at the top of the Person Management window.
6. Repeat steps 1-5 to create or choose the second contact. If the contact is an organization, users would click the word “Org”, to create or choose an organization contact.
!Did You Know?
The “Notify when queried” checkbox allows you to flag the person as being part of a civil paper. If the box is checked, any user searching that person’s/org’s name will be notified of the paper throughout the RMS.
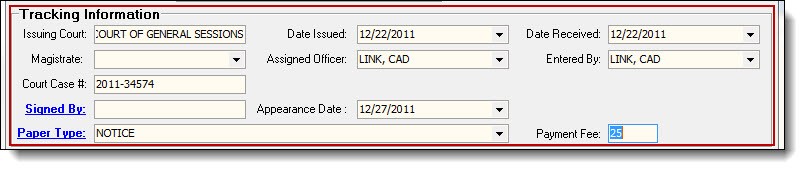
7. The second section is for entering the paper details (Tracking Information). Use the drop down lists and text fields to enter the paper’s details.
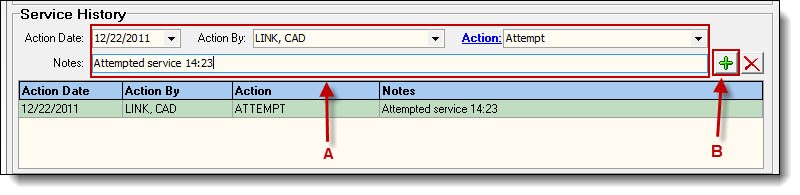
8. The third section is for recording actions or service history on the paper. Using the drop down lists and text field enter the service action (A) and then click the “Add” button (B).
*Tips:
Any previous or new service history entries are viewable in the Service History grid.
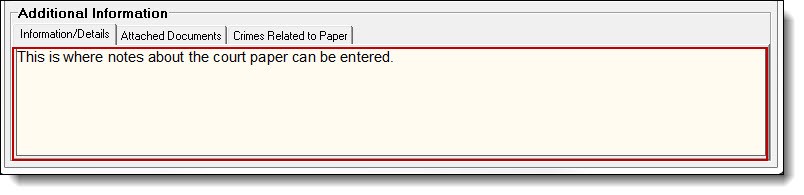
9. The fourth section is for recording any additional information. There are tabs for recording details/information, attaching external documents, and recording crimes related to the paper.
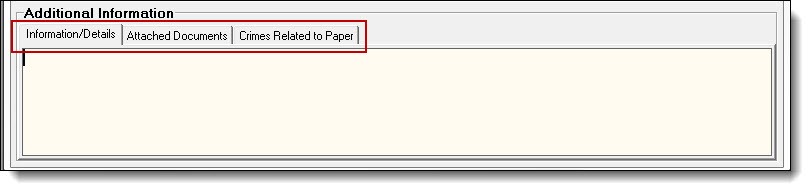
10. The Information/Details tab has a field for recording notes about the court paper.
11. The Attached Documents tab has a button to attach photos (A), and external documents (B).

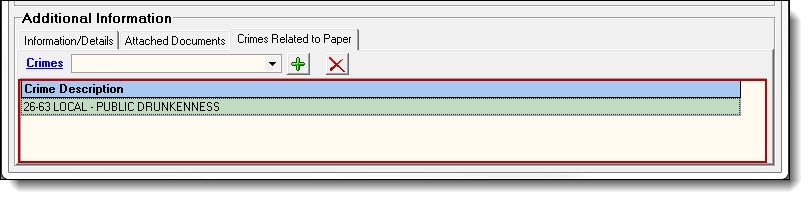
12. The Crimes Related to Paper tab has a field for linking crimes codes to the court paper.
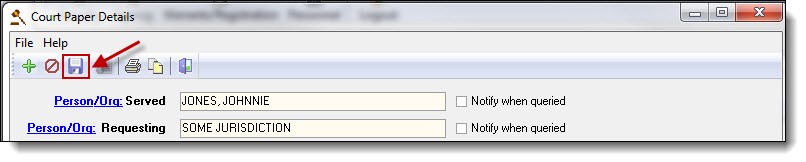
13. Click the “Save” button to save any outstanding changes to the court paper.
14. Once all of the court paper’s details have been entered and saved, click the “Exit” button to close the Court Paper Details window.
Was this article helpful?
That’s Great!
Thank you for your feedback
Sorry! We couldn't be helpful
Thank you for your feedback
Let us know how can we improve this article!
Feedback sent
We appreciate your effort and will try to fix the article
X