The CAD Unit window allows users to create a unit, plus define the default association between the unit, one or more employees, and one or more vehicles if needed. Admins can get here by going to Set Up, then clicking CAD Unit.
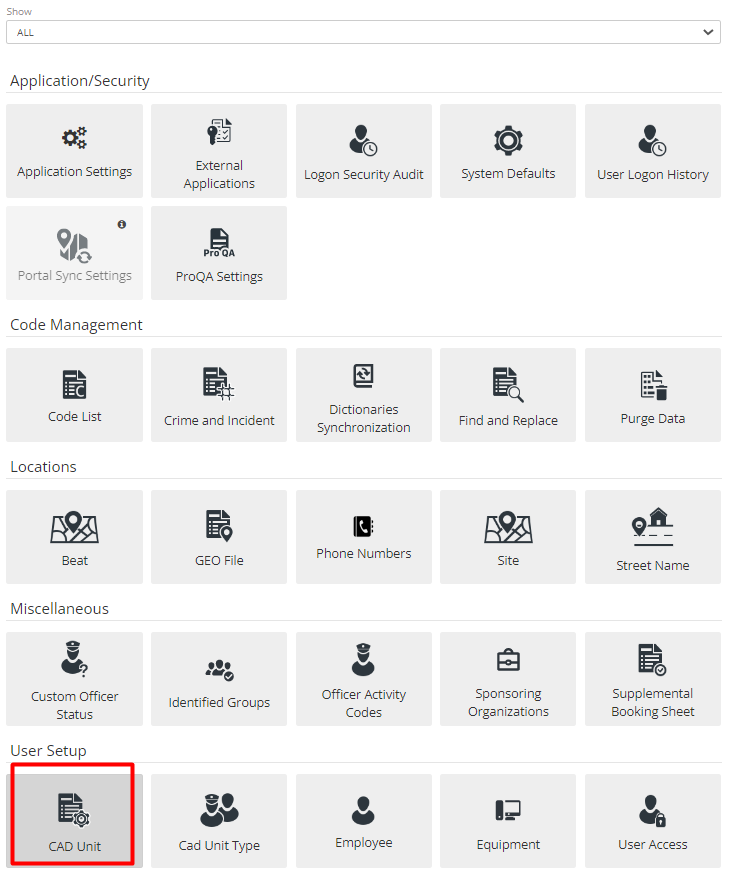
Figure 1 CAD Unit
The final step for adding an employee to the ARMS system is to give associate the employee to a CAD Unit, if needed. It’s a way for the Dispatcher to log on, log off and assign Officers/Employees to the Call. It will also help the Dispatcher to keep track of employees when they are on shift.
If an Officer needs to be issued cases to their CAD Unit, and if Admin wants to track them in dispatch, then adding a CAD unit to that Employee is required.
Depending on the role and requirements of the Employee, the Administrator can set up a simple Employee file, an Employee with User Access, an Employee with user access and a CAD unit, or an Employee with just a CAD unit.
The search bar gives the Admin the ability to search through existing CAD Units, and the Add New button will allow them to create a new CAD unit.
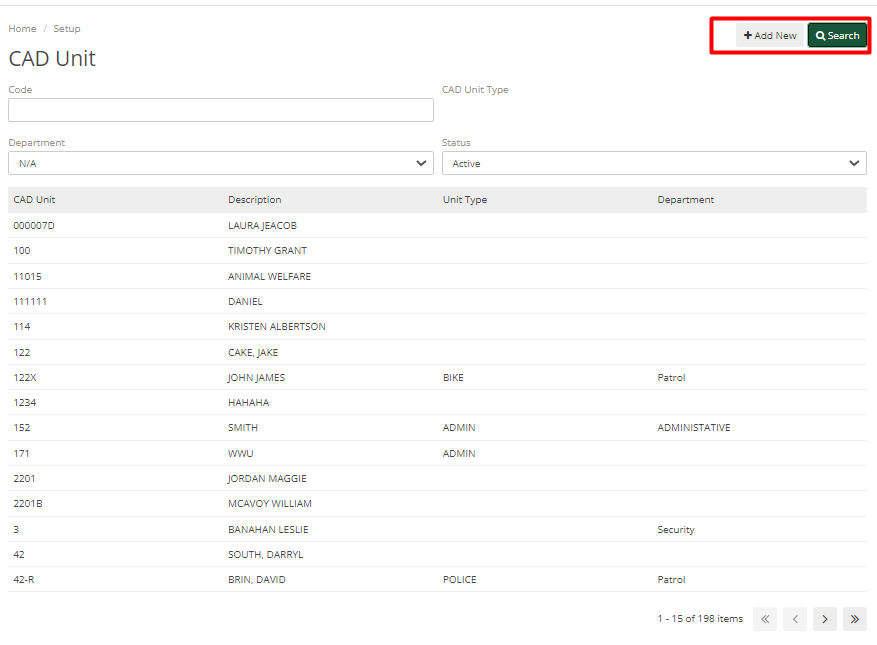
Figure 2 CAD Unit List
When adding a new unit, input the desired Code, Description, Unit Type, and Department. Be sure the unit is checked as active if it needs to be dispatched. The unit code must be a unique value, no duplicate or single-digit codes are allowed.
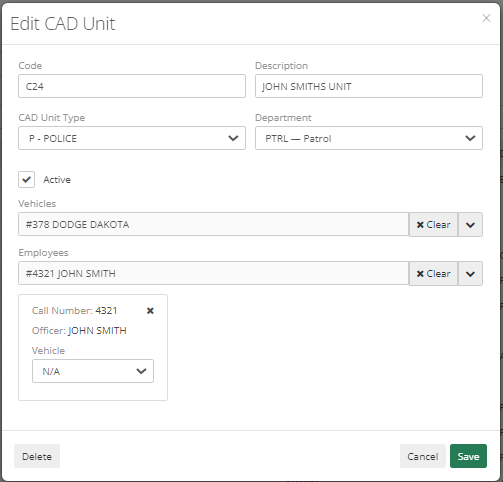
Figure 3 Edit CAD unit
To associate an Employee or Vehicle to a unit, the Admin must select the unit, then search for and select the Vehicle and Employee files from their respective fields. To remove an association, the Admin must click the 'x' button at the bottom of the screen that is associated with the vehicle or employee. It will then move back to the available list. Save entry when complete. If changes are not in CAD, then refresh the screen. If the new units still do not appear, please log out and log back in.