Case Management Overview
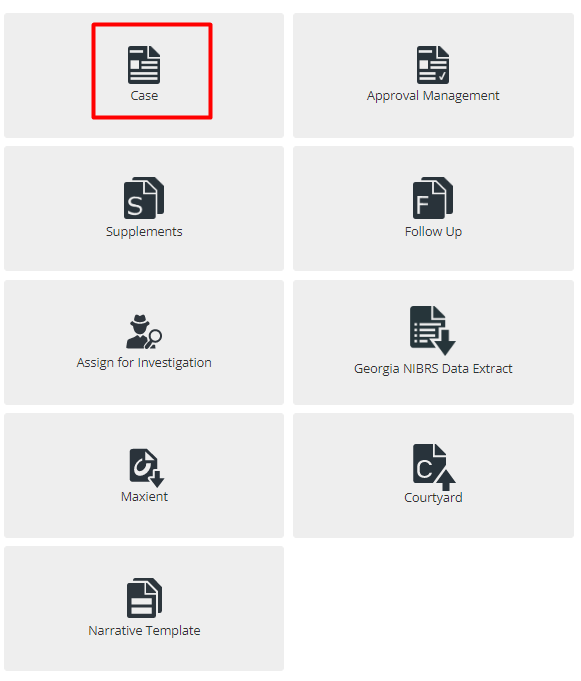
The Case Management module allows the Officer to search, view, and edit Case records within ARMS. Officers can manage Case records through Case, manage approvals through Approval Management, manage supplements through Supplements, attach Follow-Up reports, assign for Investigation, Georgia NIBRS Data Extract, Maxient, Courtyard, and manage templates for Narrative through Narrative Templates.
Case Module
In this module, Officer can manage Case records. To go to "Case", go to Home-screen>Case management>Case.
When first opening the Case module, the Officer will see the Last 10 Cases list (Here it displays only two records as two records are added). This is a list of the 10 most recently created, or modified, Case records that are associated with the Officer.
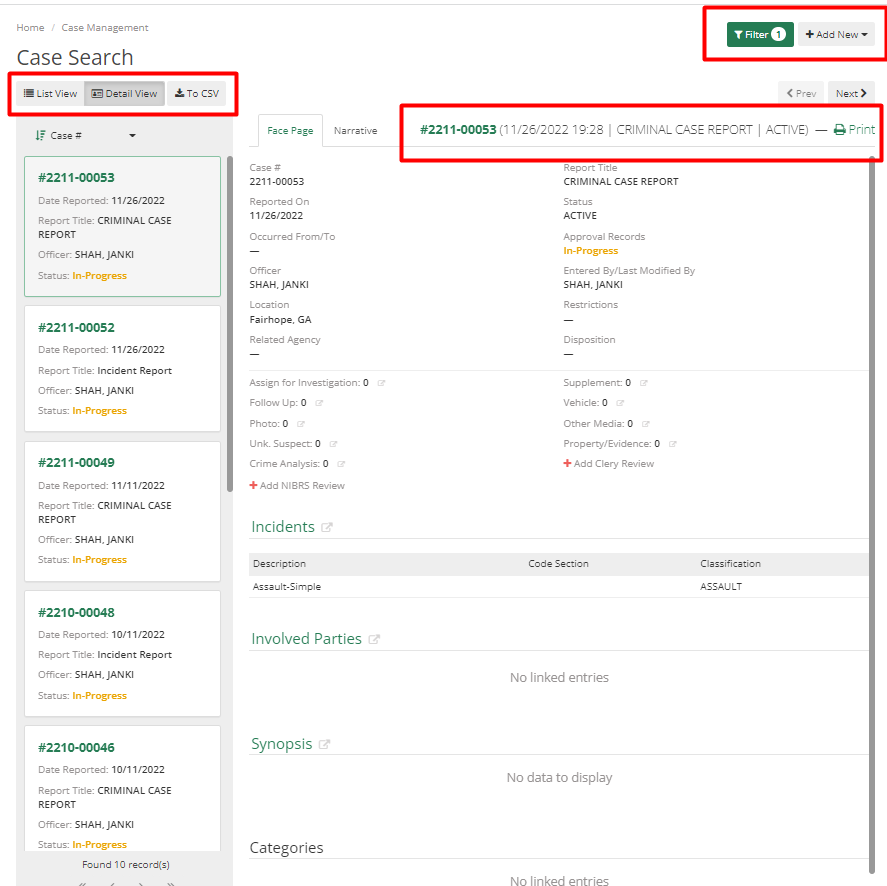
On the top right corner, the Officer can see two options Filter and Add New. Add New allows the Officer to add new cases and filter helps the Officer to filter data and view a list of records according to it.
The Case Search form allows the Officer to search Case records based on a combination of the search parameters of Report Number, Related Agency, Related Number, Common Name, Street Name, CAD Number, Date Reported On (to and from), and Officer. By default, all cases are filtered as per the officer logged in.
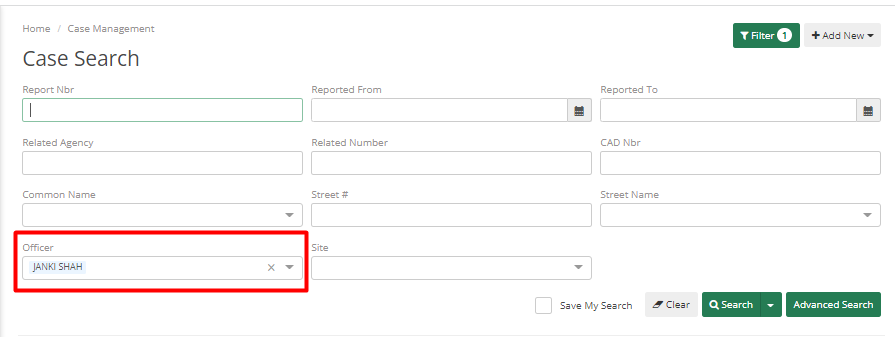
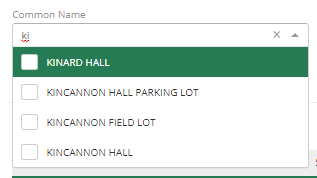
Certain fields will display a drop-down menu when the Officer starts typing in that search parameter. By default, it will display the logged-in Officer’s name in the Officer field. The drop-down menu will show the top 5 matches to what the Officer has typed in the field. The Officer can see below that where I have typed "Ki" into the Common Name field, it displays the top 5 matches.
To view the complete record of a Case in the list, simply click on the row; this will open the Case record for viewing/editing/etc. based on Officer permissions.
To save time Officers can use the advanced search option and save their search, so each time they log in they will see data as per their saved filter.

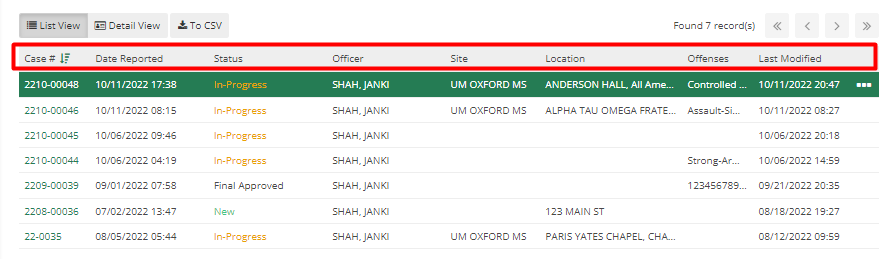
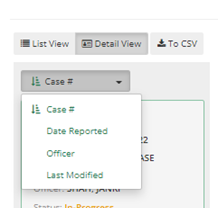
Case records can be displayed in two ways List view and Detail view. Officers can switch between those as desired. Each row in the list view represents a Case record, displaying the Report Number, Date Reported, Case Status, Name of the officer to whom the case is assigned, site, Location, Offenses, and Last modified date.
By clicking on the header, the Officer can sort data in ascending and descending order. By clicking on the case number, the Officer can see other information about that case.
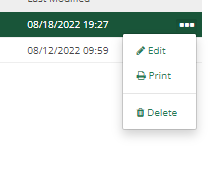
Three dots at the end of each row shows options such as edit, print, and delete. By using that, the Officer can edit, print, or delete that case.
By selecting the Detail view option, the case can be viewed in detail straight from the main screen with the Next and Previous options. Officers can see all details related to the case. The Face Page and Narrative tab allow the Officer to view all aspects of the case without navigating to other screens. On the left, Officers can see case numbers and they can scroll and select the case they wanted. Officers can sort case numbers in ascending or descending order as the Officer was doing in List view.
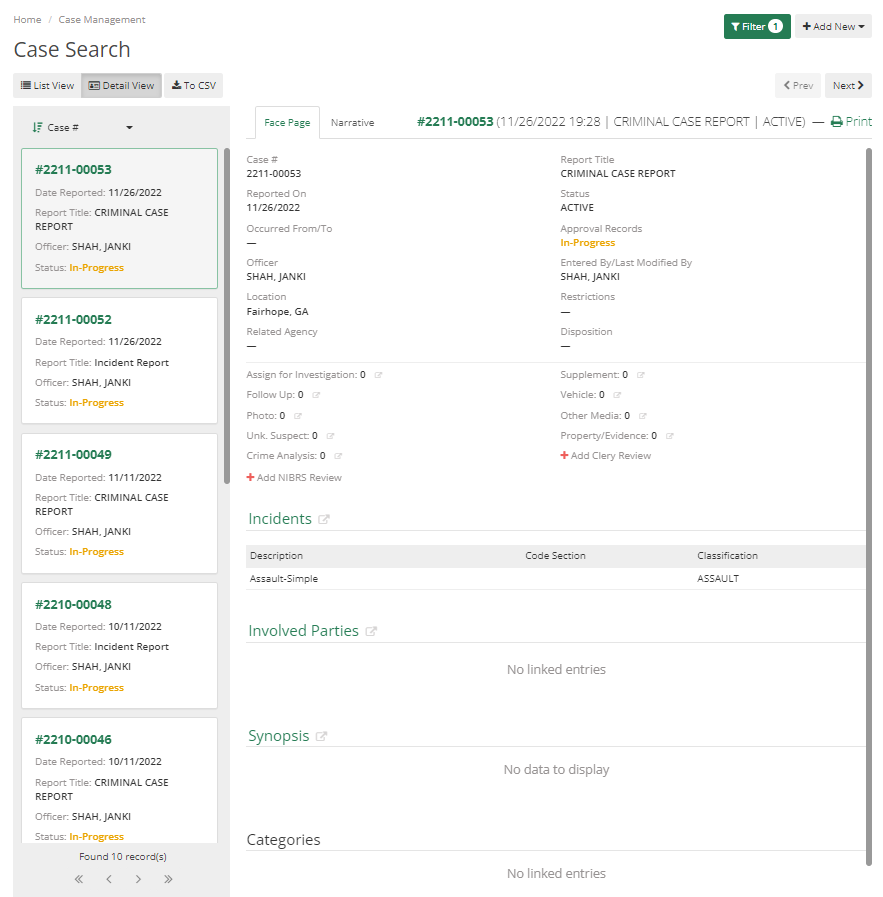
Officers can change the order of cases by Case Number, Date Reported, an Officer, or by the Last Modified Date.
To add a Case record, click the Add New button in the top-right corner of the page. From there Officer will need to select New Case Log.

The case Officer will add is either Criminal or Non-Criminal. As per the case type, a few case types are set as "Criminal" by an administrator of the Officer's department. If the Officer selects a case with a Criminal type, then they must fill in the details required in a criminal case.
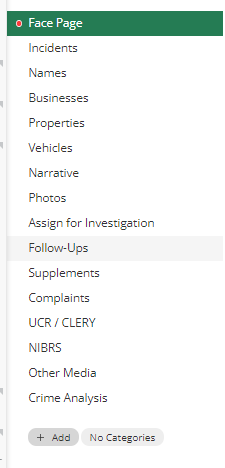
Once they have selected a Case record or created a new Case record, the Officer can then add information to or edit information in the different tabs of the Case record. These tabs are Face Page, Incidents, Names, Businesses, Properties, Vehicles, Narrative, Photos, Assign for investigation, Follow-Ups, Supplements, Complaints, UCR/CLERY, NIBRS, Other Media, and Crime Analysis. Any field that requires information will display a red exclamation dot next to the tab name.
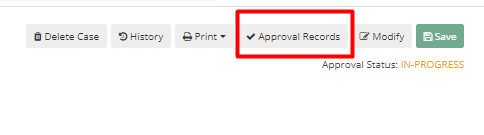
Once the Officer has finished filling out the Case report, the Officer can select the Approval Records button in the top right corner and submit the Case for Approval.
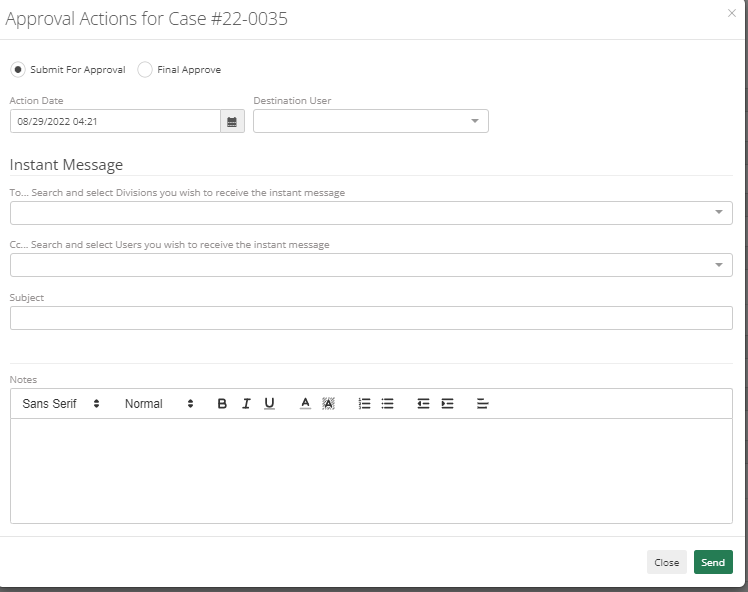
This will require Officer to choose a Destination Officer. The officer can add a division to also Instant Message or CC a specific Officer other than the Destination Officer, add a subject and notes to the submission.
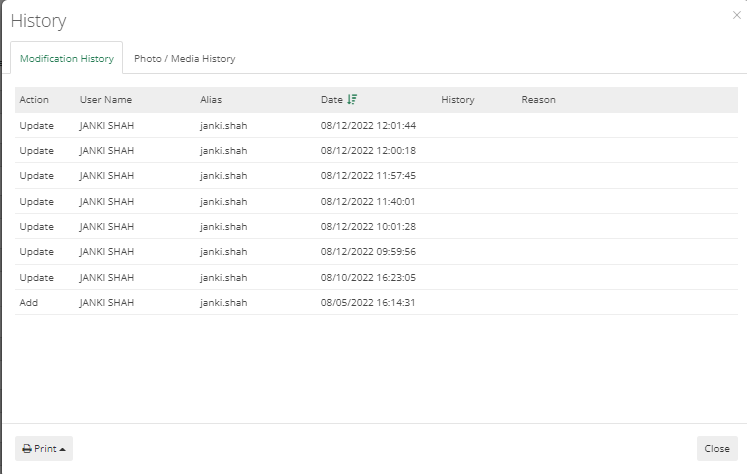
To view the Case's Approval History, go to the History button from the top-right corner and click on it. In this tab, Officer can see Modification History as well as Photo/Media History. Officer can see a copy of the case report before the modification was made, so it can be downloaded in the case where it's required.
On clicking of Add New Case button, the officer will be navigated to the screen which contains an auto-generated Case number on the top. It can be edited if the Officer has permission of editing it.
With the click of Modify button, the officer can start filling in data. Red dots in front of any tab indicates that the officer needs to fill in data to successfully add a new case. Officer can also click on this red dot, and it will show a message indicating the fields which are required.
If any information needs to be added in any drop- then that can be added by the Administrator of your department. They can add/edit it in Code List and once added it will appear in that dropdown.