NIBRS Code Setup
System Defaults
Every state has different regulations, and all departments need to set NIBRS accordingly.
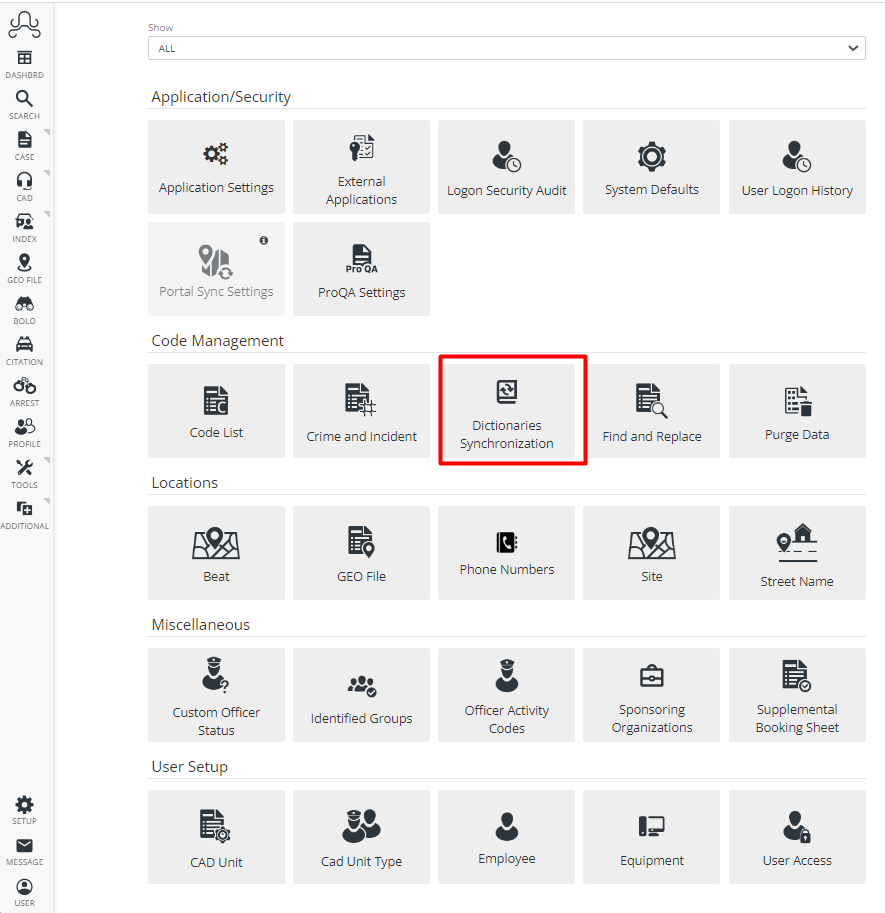
To set up codes for NIBRS, department users need to go to the Setup Menu. Here we will cover the Basic FBI NIBRS setup.

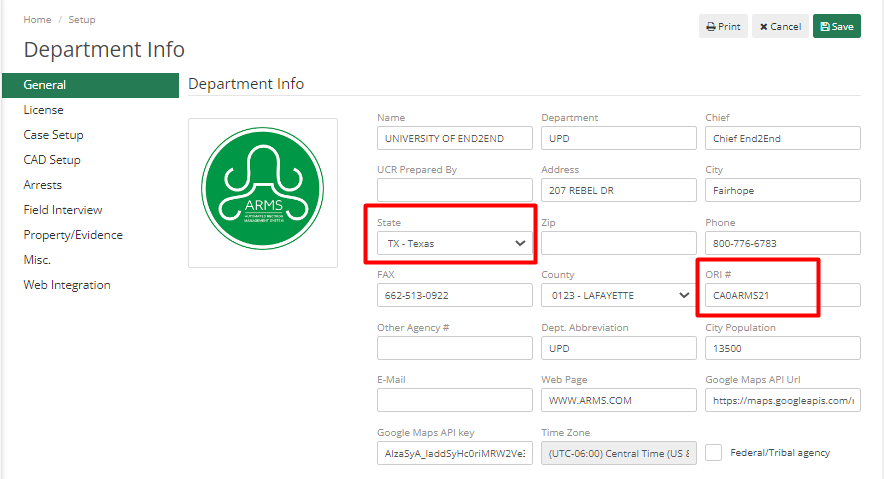
In Setup Menu > System Defaults > Department Info, department users need to check the State and their ORI numbers. It should be correct.
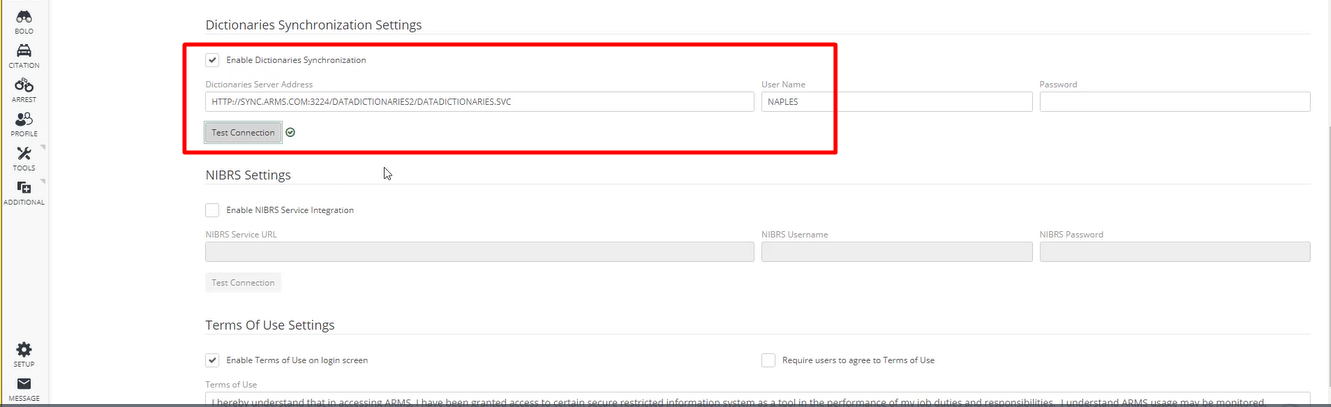
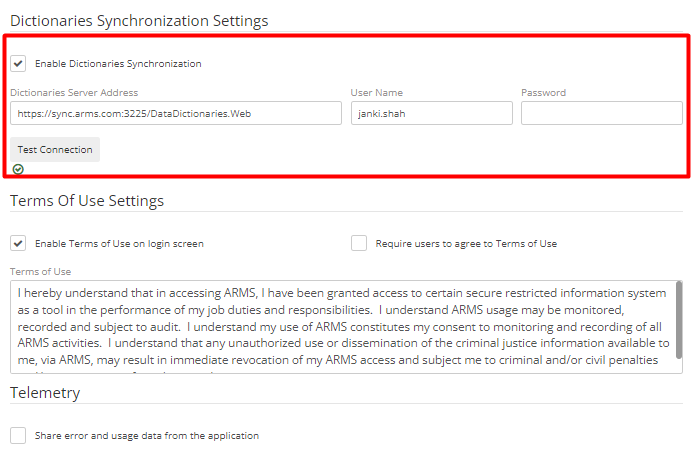
Once it’s checked, scroll down and check for Dictionaries Synchronization Settings. Make sure that the Dictionary Server Address and Username are correct, the password will be blank.
If department users do not have the Dictionary Server Address or Username, then they need to contact the ARMS Support team. To ensure that the Dictionary Synchronization is working, users need to Enable Dictionaries Synchronization and click on Test Connection.
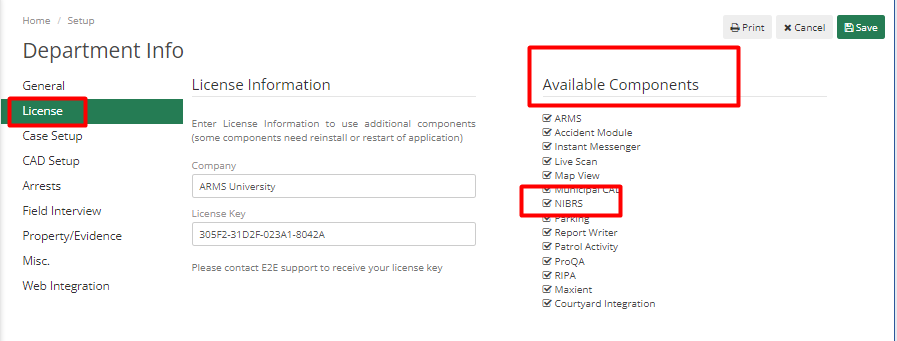
The next step is to go to the License tab in Department Info and check for the NIBRS checkbox in Available Components. If there is no NIBRS checkbox, please reach out to our Support team to update your licensing.
Dictionaries Synchronization
The Agency can make a request with ARMS for testing dictionary synchronization connection. It should show a green mark after the synchronization connection is tested successfully.
The IT department of the Agency needs to check whether Port 3224 is open, it will help pull standardized codes from the ARMS server for the Dictionary Synchronization.
These codes include NCIC codes like a vehicle, color, make, and model, and NIBRS codes like NIBRS Address Type, etc.
The Dictionary Synchronization tab will show a list of all codes. Under Update Status, it will show whether the code needs an update or not.
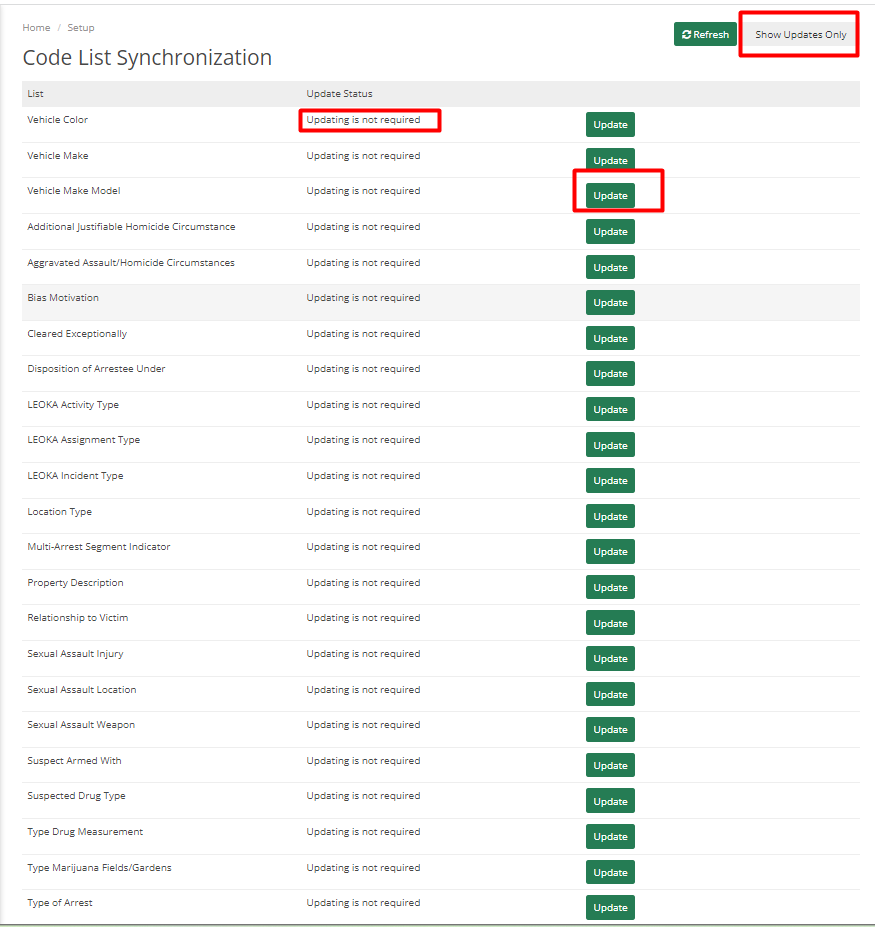
If the code is not updated, it will say “Update is Available” and the Refresh button will Refresh the list. The “Show Updates Only” button will show a list of codes that need updating and will hide all other codes in the list.
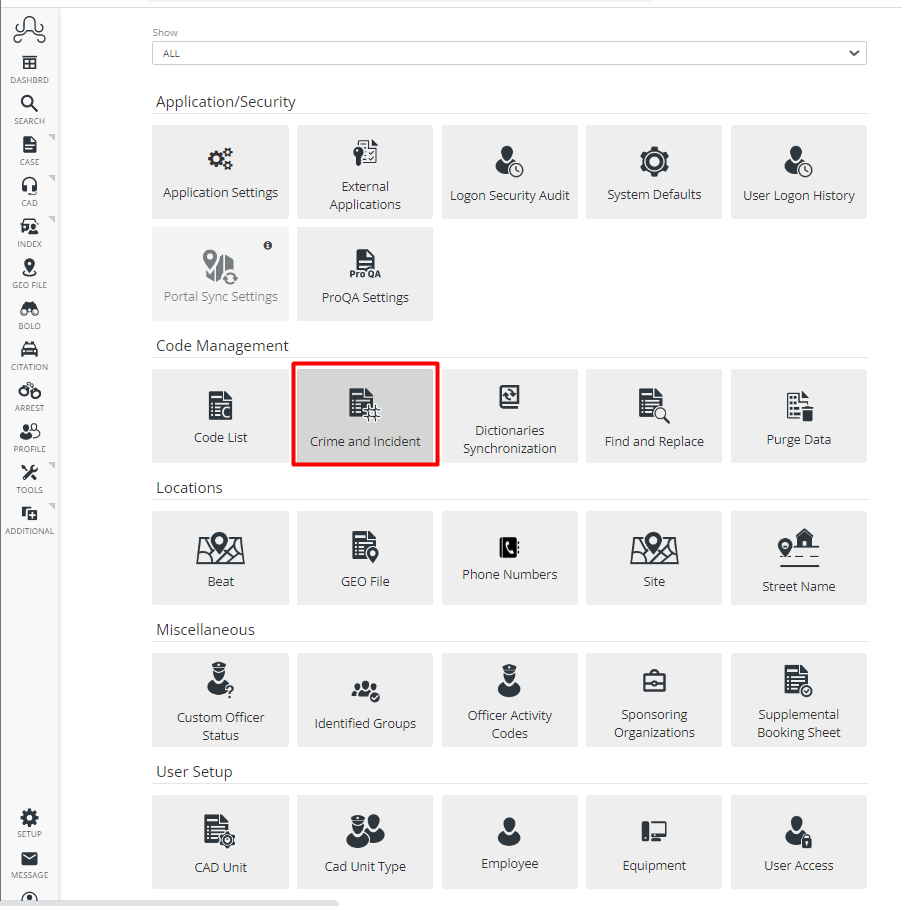
Crime Codes
This tab is for setting up Crime Codes to report NIBRS. When an officer puts a Crime Code that has been set up on a Case Report, it will import it into NIBRS Review, and this will make data entry and reporting easy.
If the department is setting these up for the first time, then they can reach out to ARMS Support as we have a script to run for Crime Codes that will set up many of the Crime Codes for the department. This script does not contain all the Crime Codes but may cover most of them. So, after running the script if anything is left then that can be added/edited by the department admin.
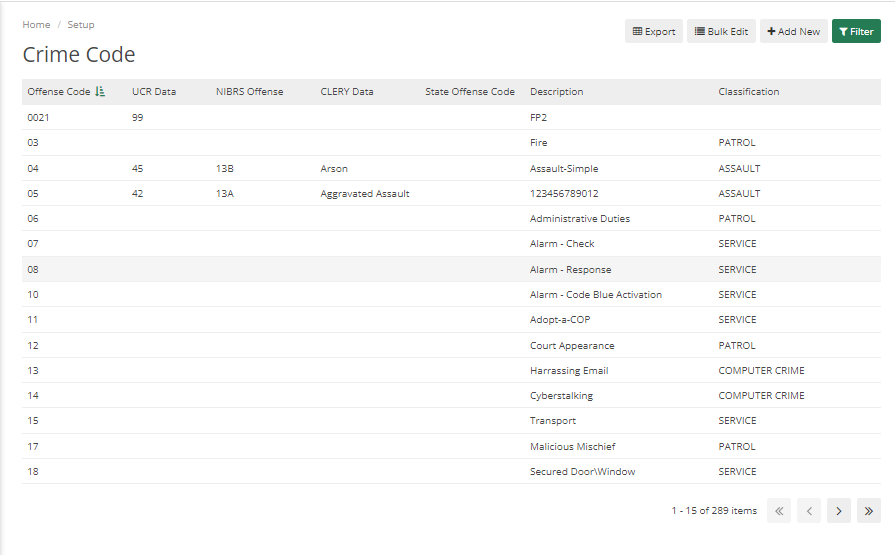
If the department admin wants to set up multiple crime codes altogether then they can click on the Bulk Edit button to edit multiple crime codes.
![]()
For any reportable crime codes, the department admin needs to set up two fields NIBRS Offense code and Crime Against Types. UCR Offense code is used by NIBRS for Reporting. ARMS has a document containing the brief NIBRS - Offense Code List which can be accessed from the ARMS Support Site.
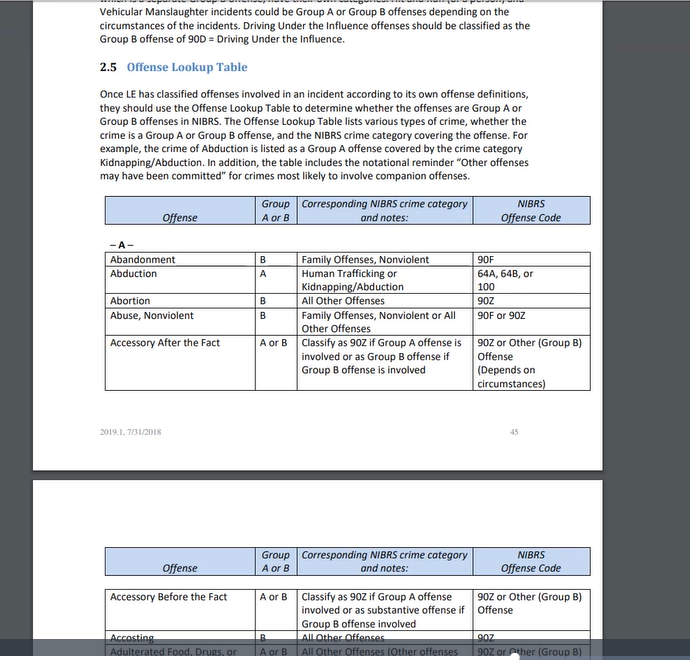
There is another list on the ARMS Support Site named the “NIBRS - Official FBI User Manual” which contains a larger list of crimes and their related NIBRS Offense code in the Offense Lookup Table.
Whenever an officer adds a case with these Crime Codes, it will automatically pull the NIBRS Offense code and Crime Against Type set up by the admin and will import it into the NIBRS Review.
Location Codes
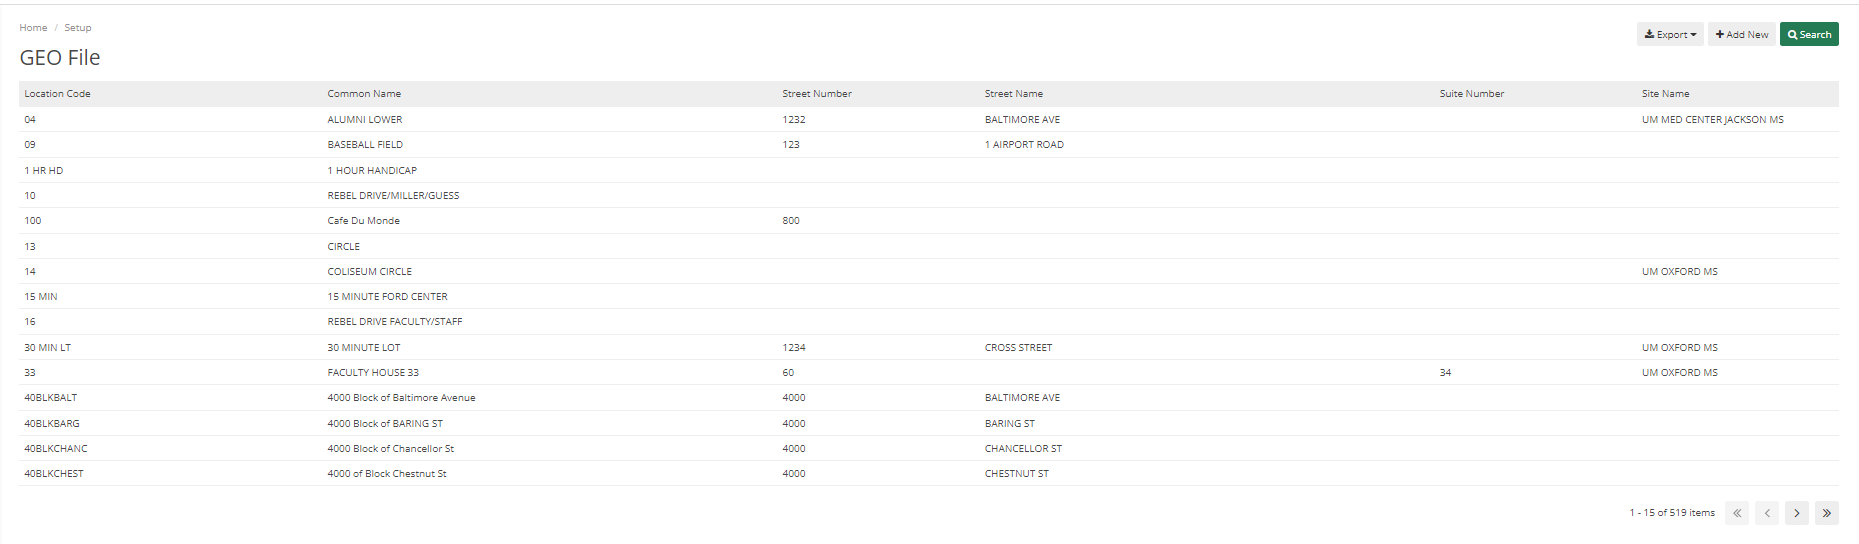
Setup > Geo File, this is where the department needs to set up their locations with NIBRS Address Types that apply to them.
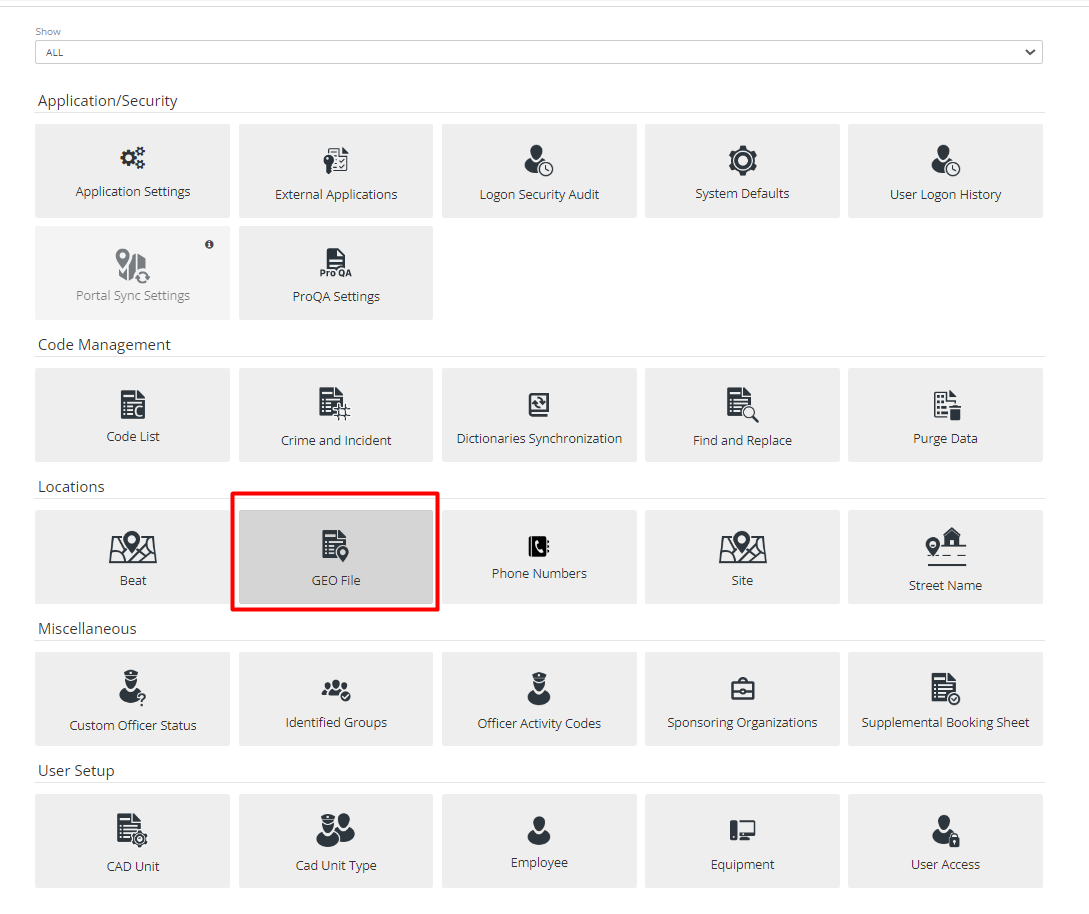
After clicking on the GEO file, it will show a list of all the locations added by the department.
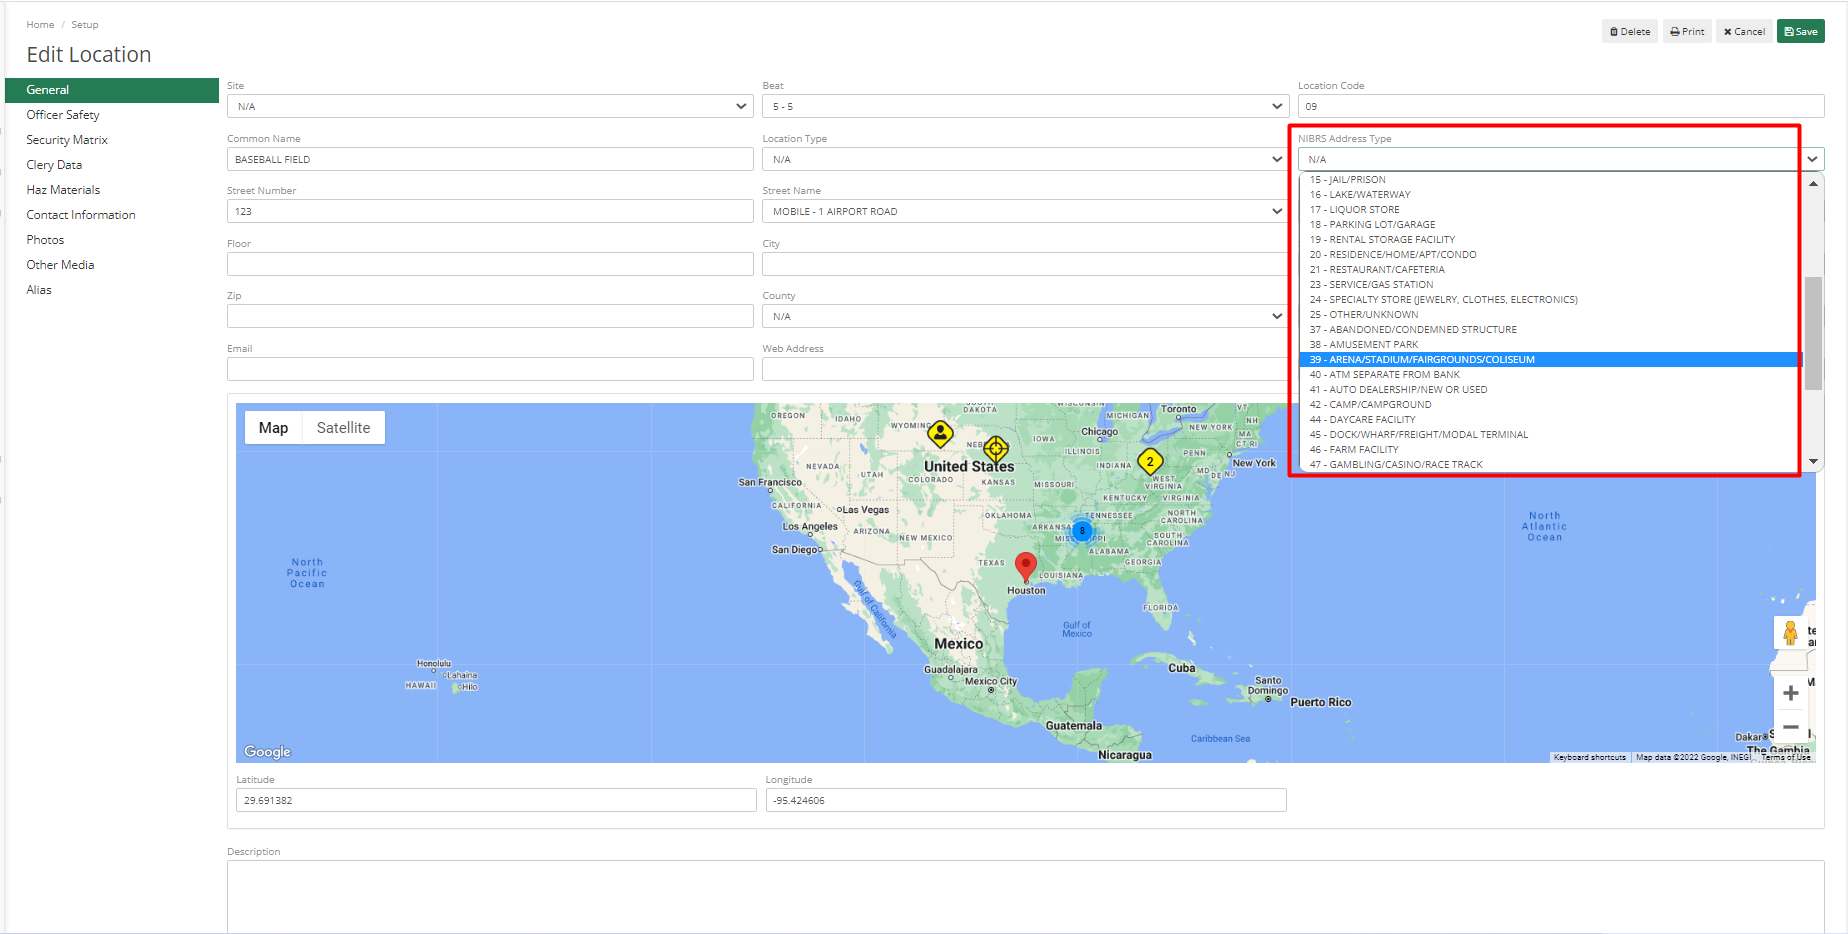
After selecting one of those, the user can see a field named “NIBRS Address Type”. It shows a list of address types that the user can select for that address type; this list will be created by the Dictionary Synchronization.
Go to each location, select the NIBRS Address type which relates the most and then Hit Save. This information will then import into the NIBRS Review when the location is added to the Case Report.
Property Codes
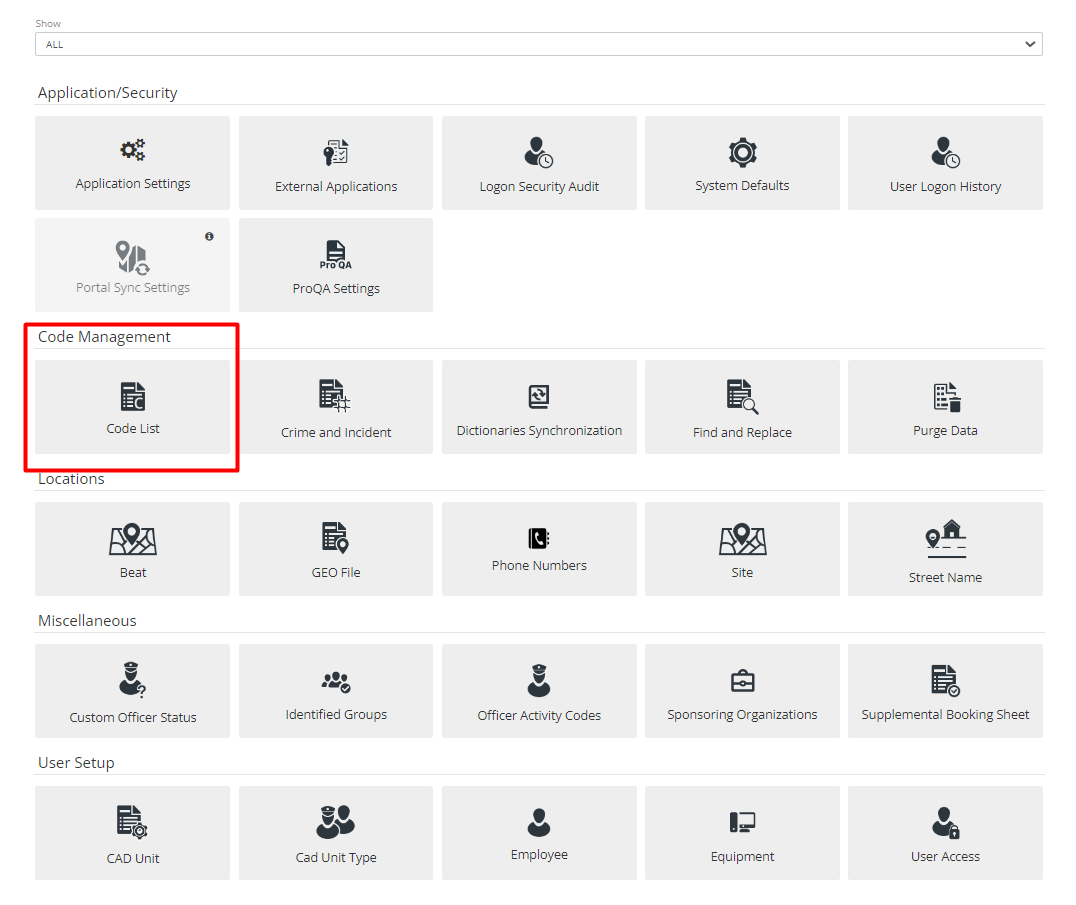
To set up property codes, go to Setup> Code List.
The Code List has multiple fields to select from. To set up property codes select Property/Evidence in the Category list and for Subcategory select “PROPERTY DESCRIPTION”. Here changes would not be required as everything has been done by Dictionary Synchronization.
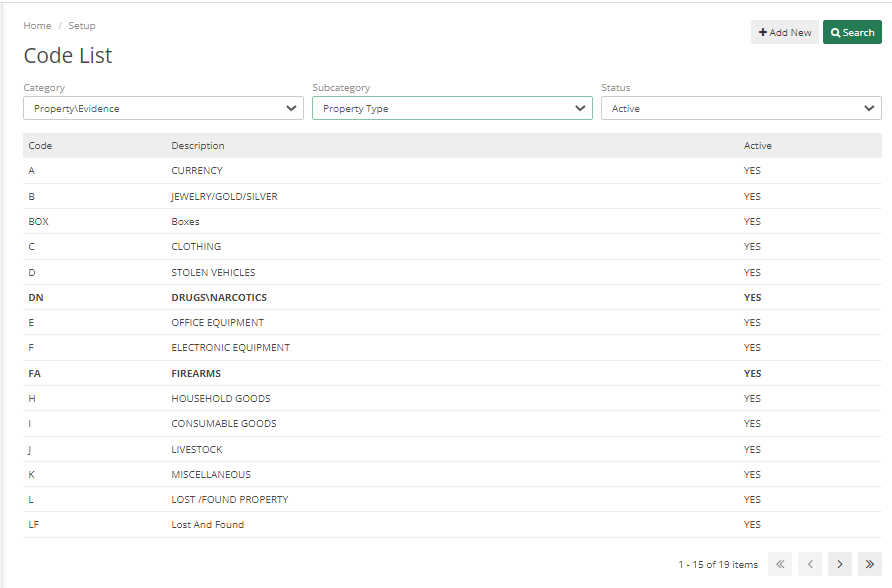
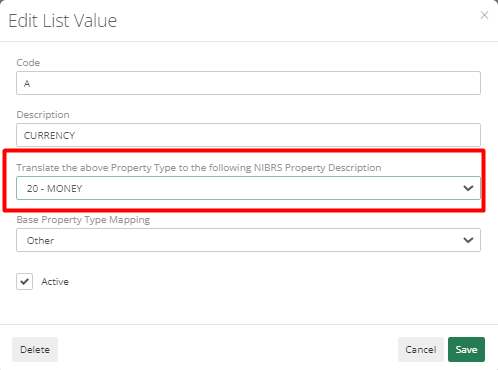
Another subcategory field that may have some changes is “PROPERTY TYPE”, it is customized by the department. The Department needs to check if each property code has a NIBRS equivalent code. If it does not map correctly then click on that code. A dialog will pop up in which department users can select a NIBRS equivalent code for that property. All the property needs to be checked similarly.
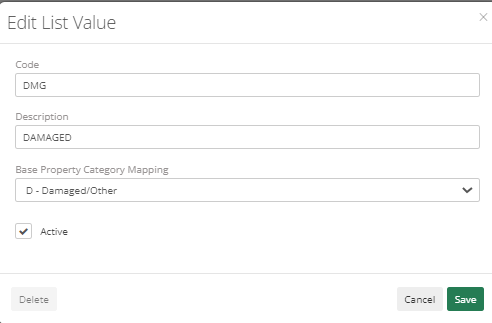
The next subcategory is “PROPERTY CATEGORY”. Codes shown in bold are system codes that can be modified but cannot be deleted. It should be mapped with the correct “Base Property Category Mapping”
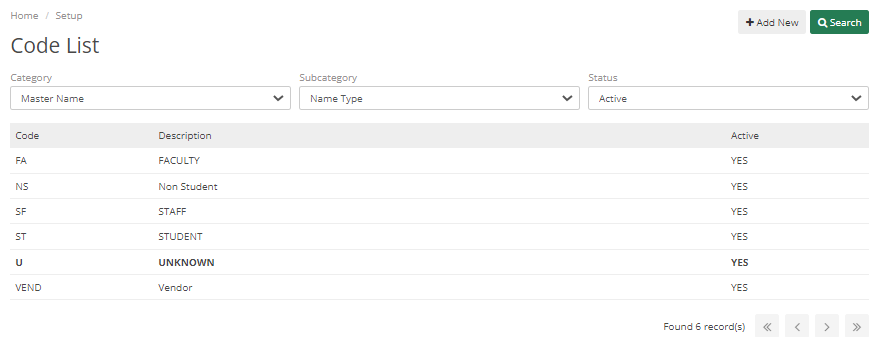
Name Codes
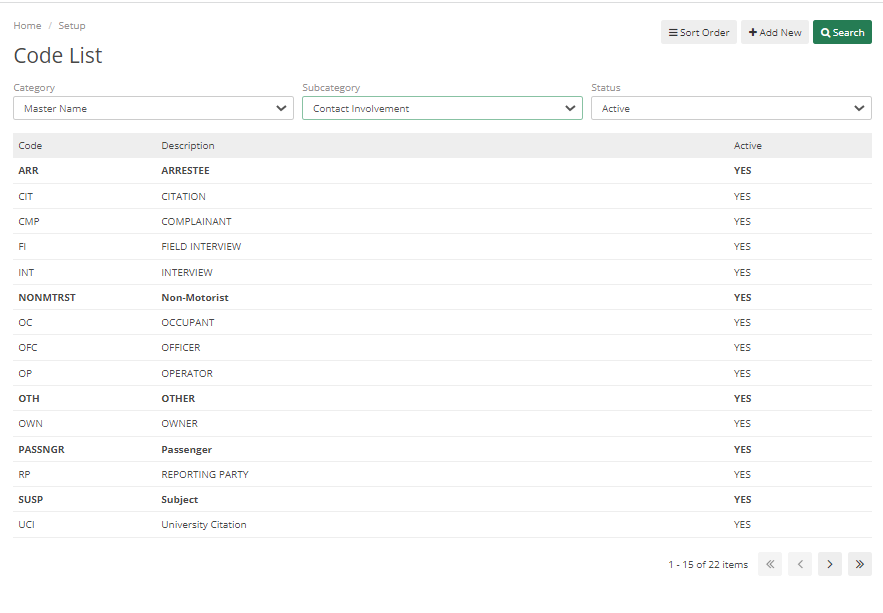
For Name codes, go to Setup > Code List > Category: Master Name. Two Subcategories are required to check our “CONTACT INVOLVEMENT” and “NAME TYPE”.
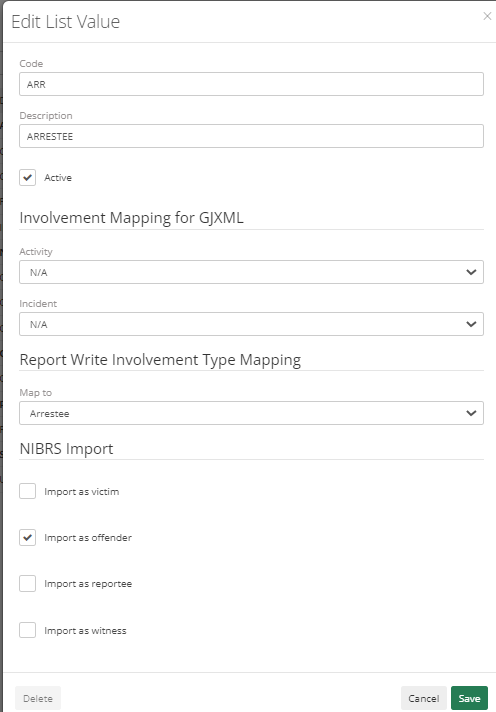
Contact Involvement is a way to map NIBRS offender/victim to be able to pull from Contact involvement on the case and import it into NIBRS review as Offender/Victim.
By going to each code check and map NIBRS import to the code.
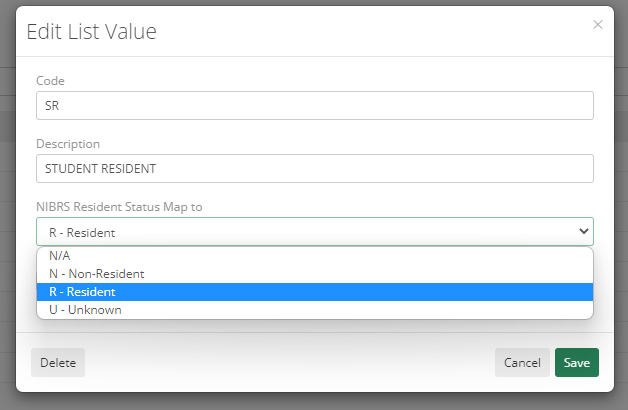
Next, select the subcategory “NAME TYPE”. This might not be filled by all departments, but it is a required field for NIBRS.
It is just to label if someone is a Resident or Non-Resident of the city or school.