Case Management
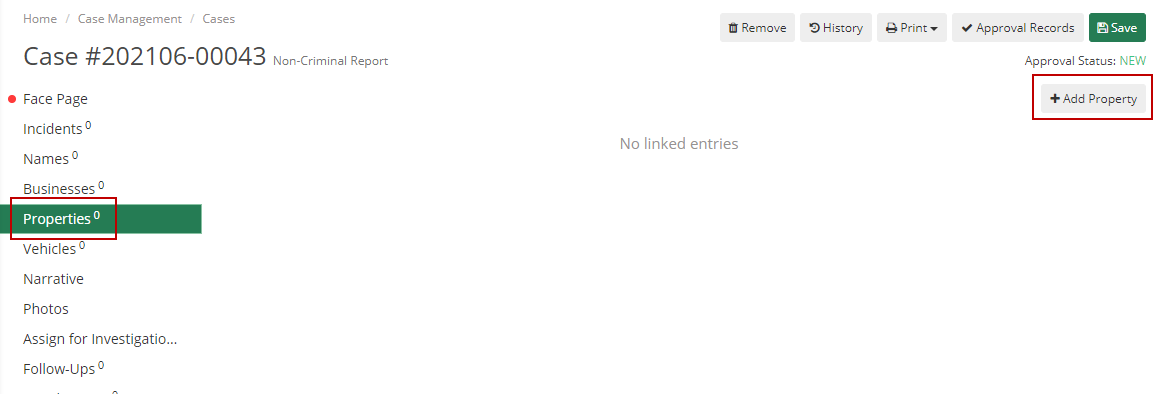
When entering data into a Case Report, you can find a “Properties” tab where you’re able to add any property or evidence that is related to the case. You can click the “+ Add Property” button to add a new piece of property.
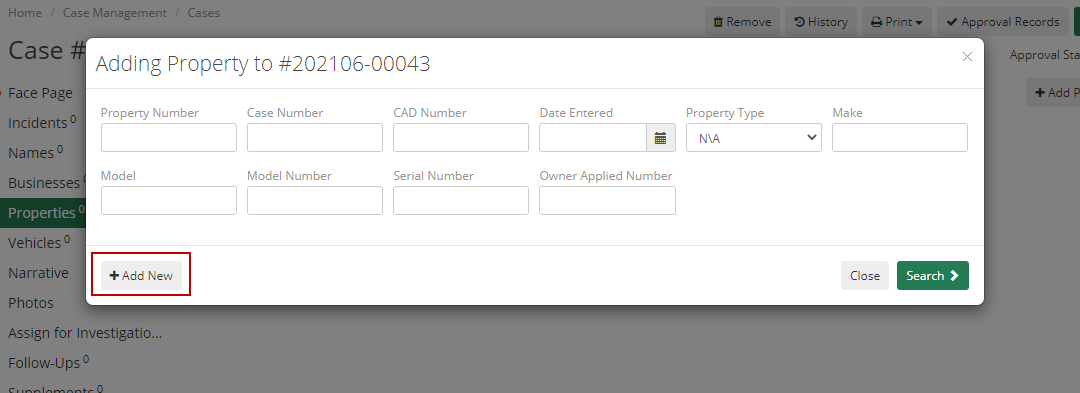
It’ll first ask you to search for the property to reduce duplicates, but you most likely won’t already have a piece of property in the system so you can click to Add New.
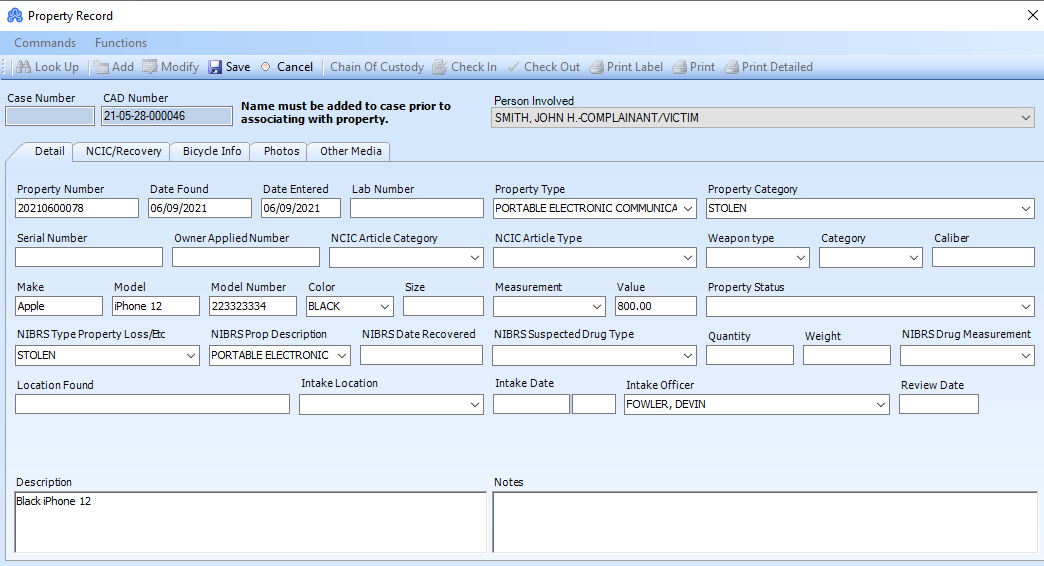
The first things required to add to a case are going to be the Property Category and Property Type, with the definitions of those fields found above.

The other two required fields below are going to be Date Entered, which auto-populates with the date that you clicked to add it, and Description, which is a text field where you can add any information you want.
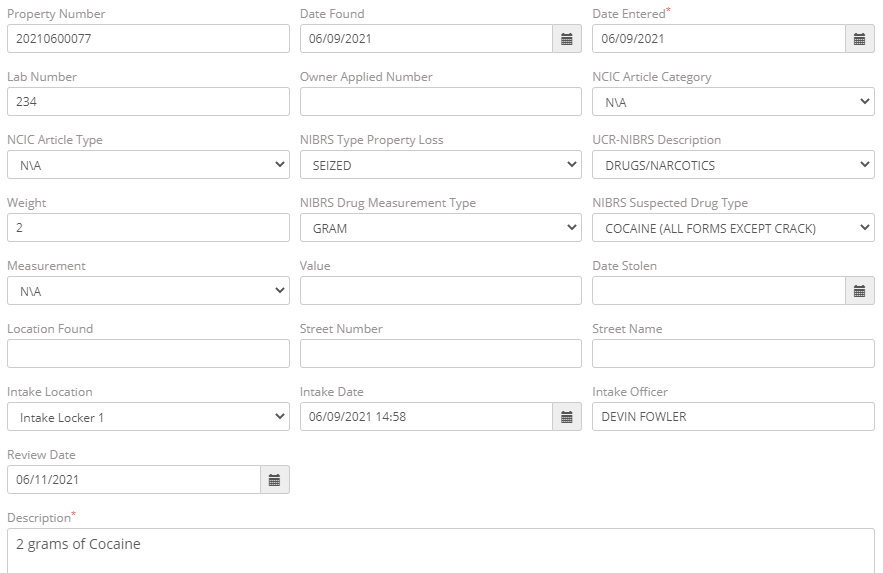
Other than those fields, some notable fields and listed below with their descriptions:
Intake Location – This will be the location(s) where an officer will put the property for the Property Clerk to retrieve and move it into a property room and/or location bin.
Intake Date – The date the property was placed in the intake location, auto-populates when the user selects the intake location.
Intake Officer – The officer’s name of who is placing the property in the intake location.
Review Date – The date when the property needs to be reviewed by the Property Clerk, if your Notification Manager is set up then you can send a notification to specific users when this date arrives.
Once all the information that you’d like to add about the property or evidence has been completed and you save the piece of property, you can add more information by going to the tabs at the top of the property page.
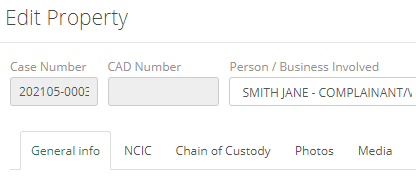
These tabs will let you do the following:
NCIC – This allows you to enter information regarding the NCIC Number, NCIC Entry Date, and all weapon information.
Chain of Custody – This shows the different levels of custody for the property and past statuses.
Photos – Add any photos to the property, if you are using a device with a camera, you can click to add and use the device's camera to take a photo of the property.
Media – Add any media other than photos, i.e., a video file, an audio file, or documents.
CAD
When entering data into a Case Report, you can find a “Property” tab where you’re able to add any property or evidence that is related to the CAD or look at properties you’ve already added. All properties added in this tab will be transferred over to the Case Report when you click the Issue Report button. Any property added after clicking Issue Report will not transfer to the case.

Then you can add the data for the property and the involved party it is attached to.
Some notable fields and listed below with their descriptions:
Property Category – This is used to describe what relation this property has to the case report. There are four base property categories you’ll need to relate the property categories you create to Damaged/Other, Evidence, Safe Keeping, and Stolen.
Property Type – This is used to describe what type of property it is. If your department is reporting NIBRS, you can relate the property types you create to the NIBRS property description code that matches it best.
Intake Location – This will be the location(s) where an officer will put the property for the Property Clerk to retrieve and move it into a property room and/or location bin.
Intake Date – The date the property was placed in the intake location, auto-populates when the user selects the intake location.
Intake Officer – The officer’s name of who is placing the property in the intake location.
Review Date – The date when the property needs to be reviewed by the Property Clerk, if your Notification Manager is set up then you can send a notification to specific users when this date arrives.
These tabs will let you do the following:
NCIC – This allows you to enter information regarding the NCIC Number, NCIC Entry Date, and all weapon information.
Photos – Add any photos to the property.
Media – Add any media other than photos, i.e., a video file, an audio file, or documents.
You can also use the buttons at the top to print a property label or check the chain of custody. If you have the Property Clerk User Access permission, you can check in/out of the property from the ARMS system.