Property Overview
The way that ARMS is set up to manage property is that an officer or dispatcher will receive a piece of property/evidence. They will then enter a case report or CAD event and add that property/evidence to the Property tab in the case report or CAD Event and put the property into an intake location. From there the Property Clerk will retrieve the property and check it in and move it to a different location or bin specific to the property or evidence.
The Property Clerk can use a barcode printer and scanner to do this. They can then Check Out the property to another entity outside of the department, Release the property to its owner, or destroy the property to remove it from the system. The Property Clerk can also pull data for all this information for reporting or to see what evidence is being kept and where.
System Defaults
Go to the Setup Menu and go into the System Defaults module. Then select the Property tab and there you will find the Number Settings and Number Formatting.
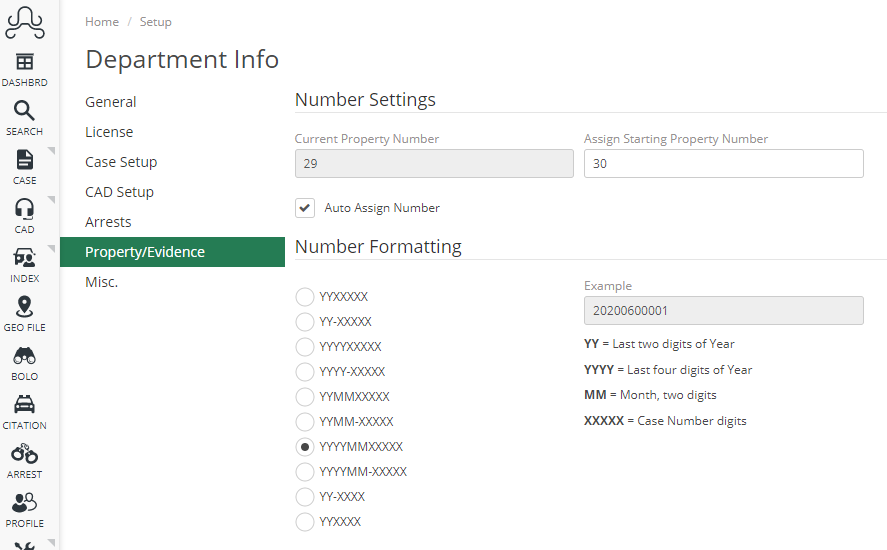
Here you can choose if you’d like your Property Number to automatically be generated in order and choose the format that you’d like that Property Number to be in.
User Access
In the User Access module, make sure that anyone that will be checking in property to a property/evidence room and/or the property clerk for your department has access under the Property tab for the “Property Clerk” permission.
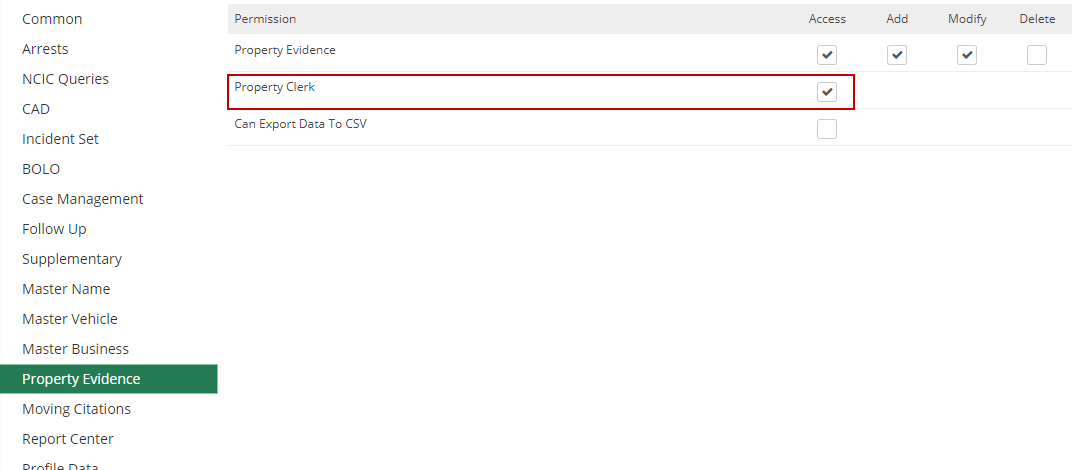
Officers can still add property/evidence to a case if they have the permission to, but the Property Clerk’s permission will allow that person to move it from the officer’s intake location to check it into the property/evidence room and check it out, relocate, release, or destroy a piece of property.
Code List
You can customize your codes in the Code List module to fit what you want to report or track in your property/evidence module. In the Code List, choose the Category of Property/Evidence and the Subcategories will be the different drop-down fields you can customize.
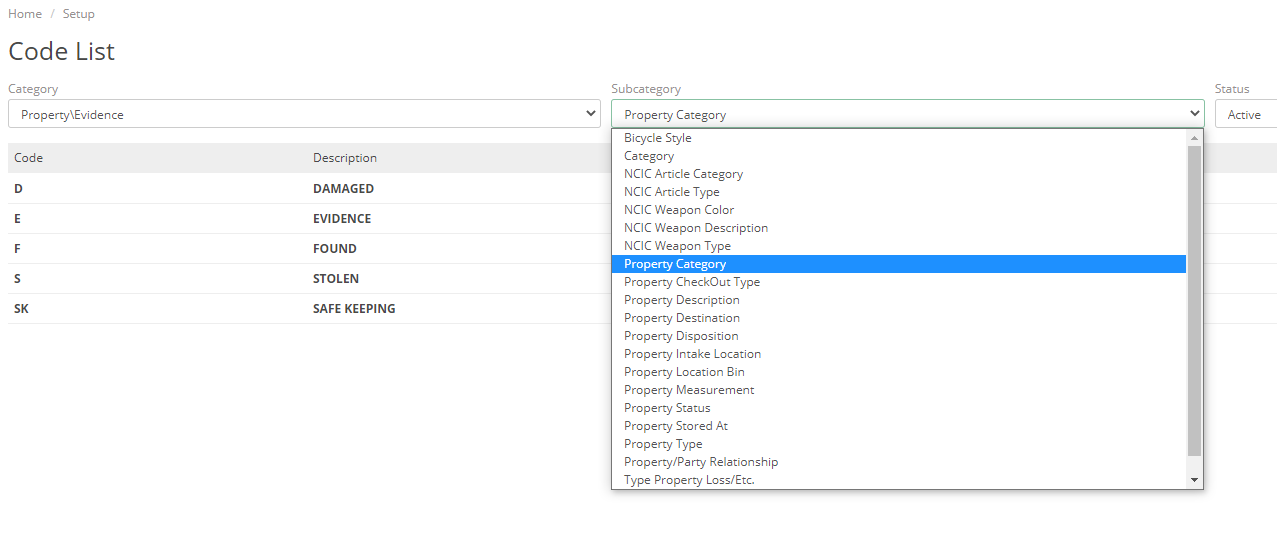
Some key fields to be aware of and a short description are below:
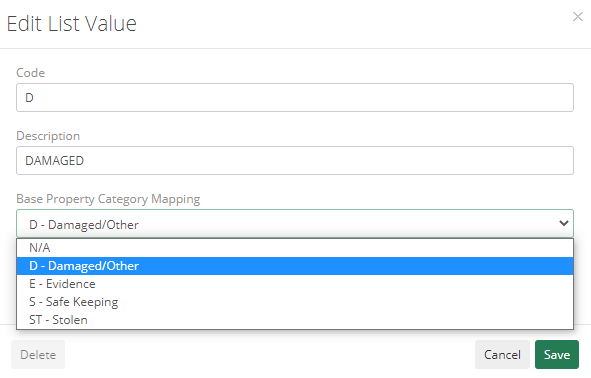
Property Category – This is used to describe what relation this property has to the case report. There are four base property categories you’ll need to relate the property categories you create to Damaged/Other, Evidence, Safe Keeping, and Stolen.
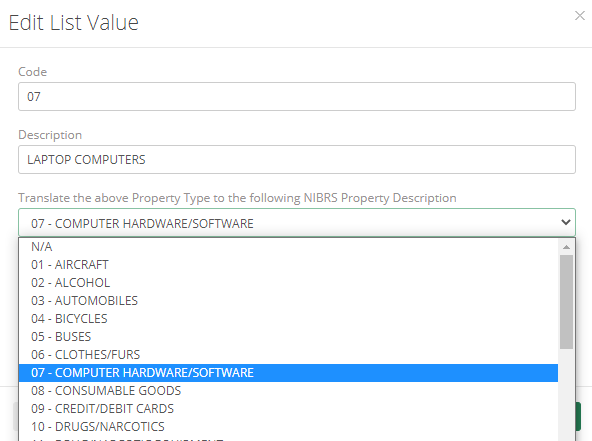
Property Type – This is used to describe what type of property it is. If your department is reporting NIBRS, you can relate the property types you create to the NIBRS property description code that matches it best.
Intake Location – This will be the location(s) where an officer will put the property for the Property Clerk to retrieve and move it into a property room and/or location bin.
Property Stored At – These will be the locations that a Property Clerk could move the property to.
Location Bin – These can/will be bins within the “Property Stored At” location that the Property Clerk could move the property to.
Property Check Out Type – This will be the reason why a property is being checked out of the department (NOTE: This will be anything other than Released or Destroyed)
Property Destination – This will be the location or business that a property could be checked out to by the Property Clerk.