Vehicle Maintenance Overview
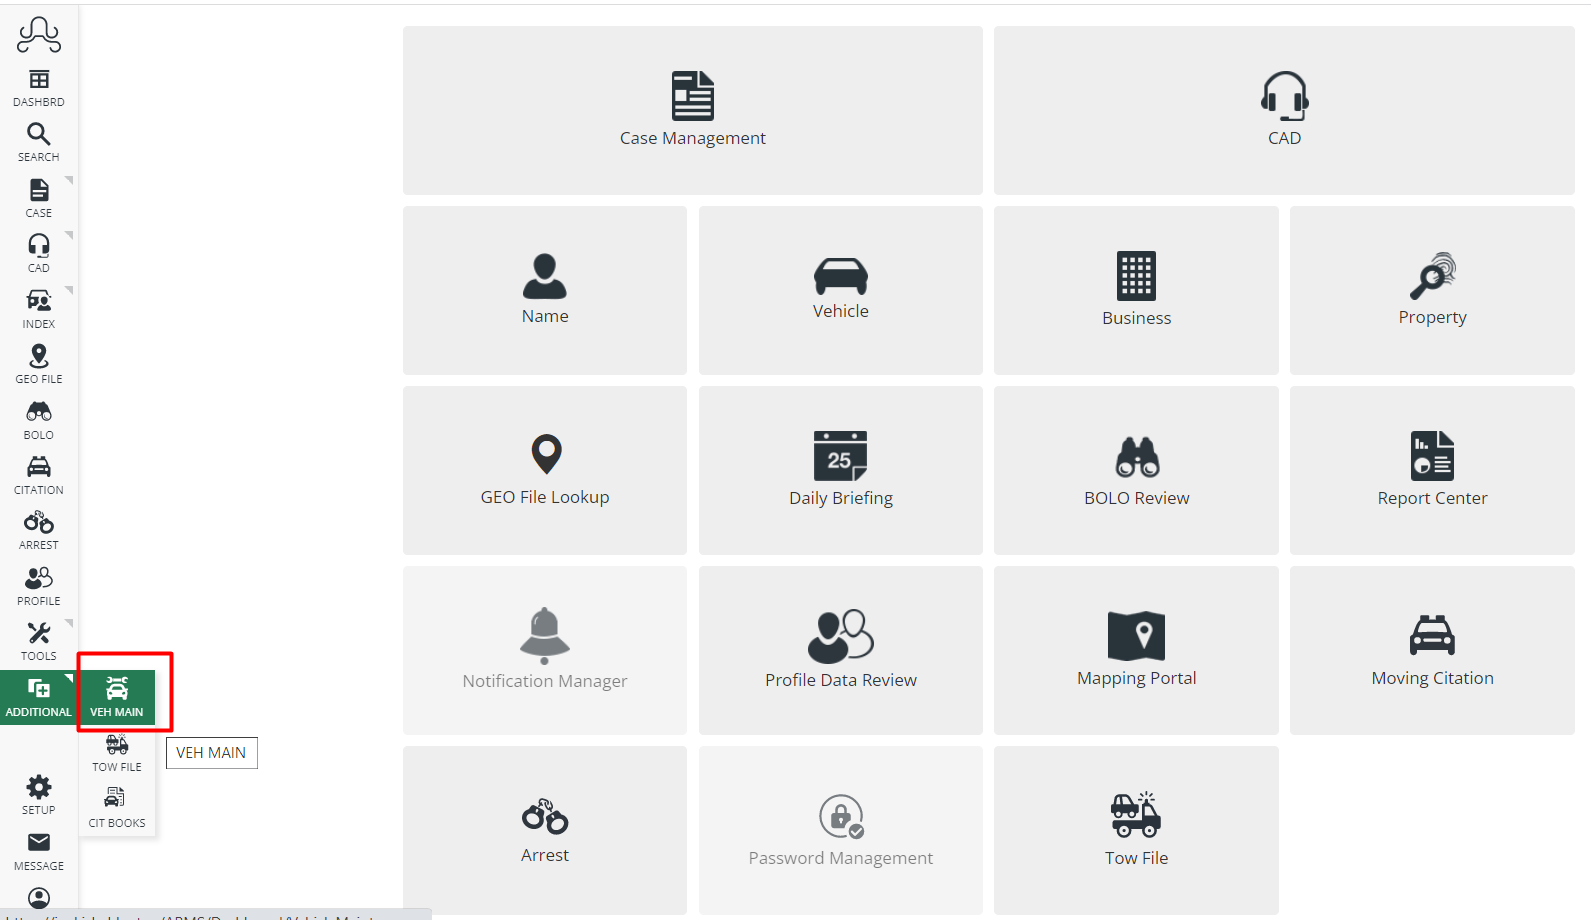
From the Side Menu, go to the Additional Tab and go into the Vehicle Maintenance module. Here you can track information for all department vehicles such as their Fuel usage, mileage usage, their repairs, services, and repairing vendor list with details. This module will also allow you to print or download a CSV spreadsheet.
Department Vehicles
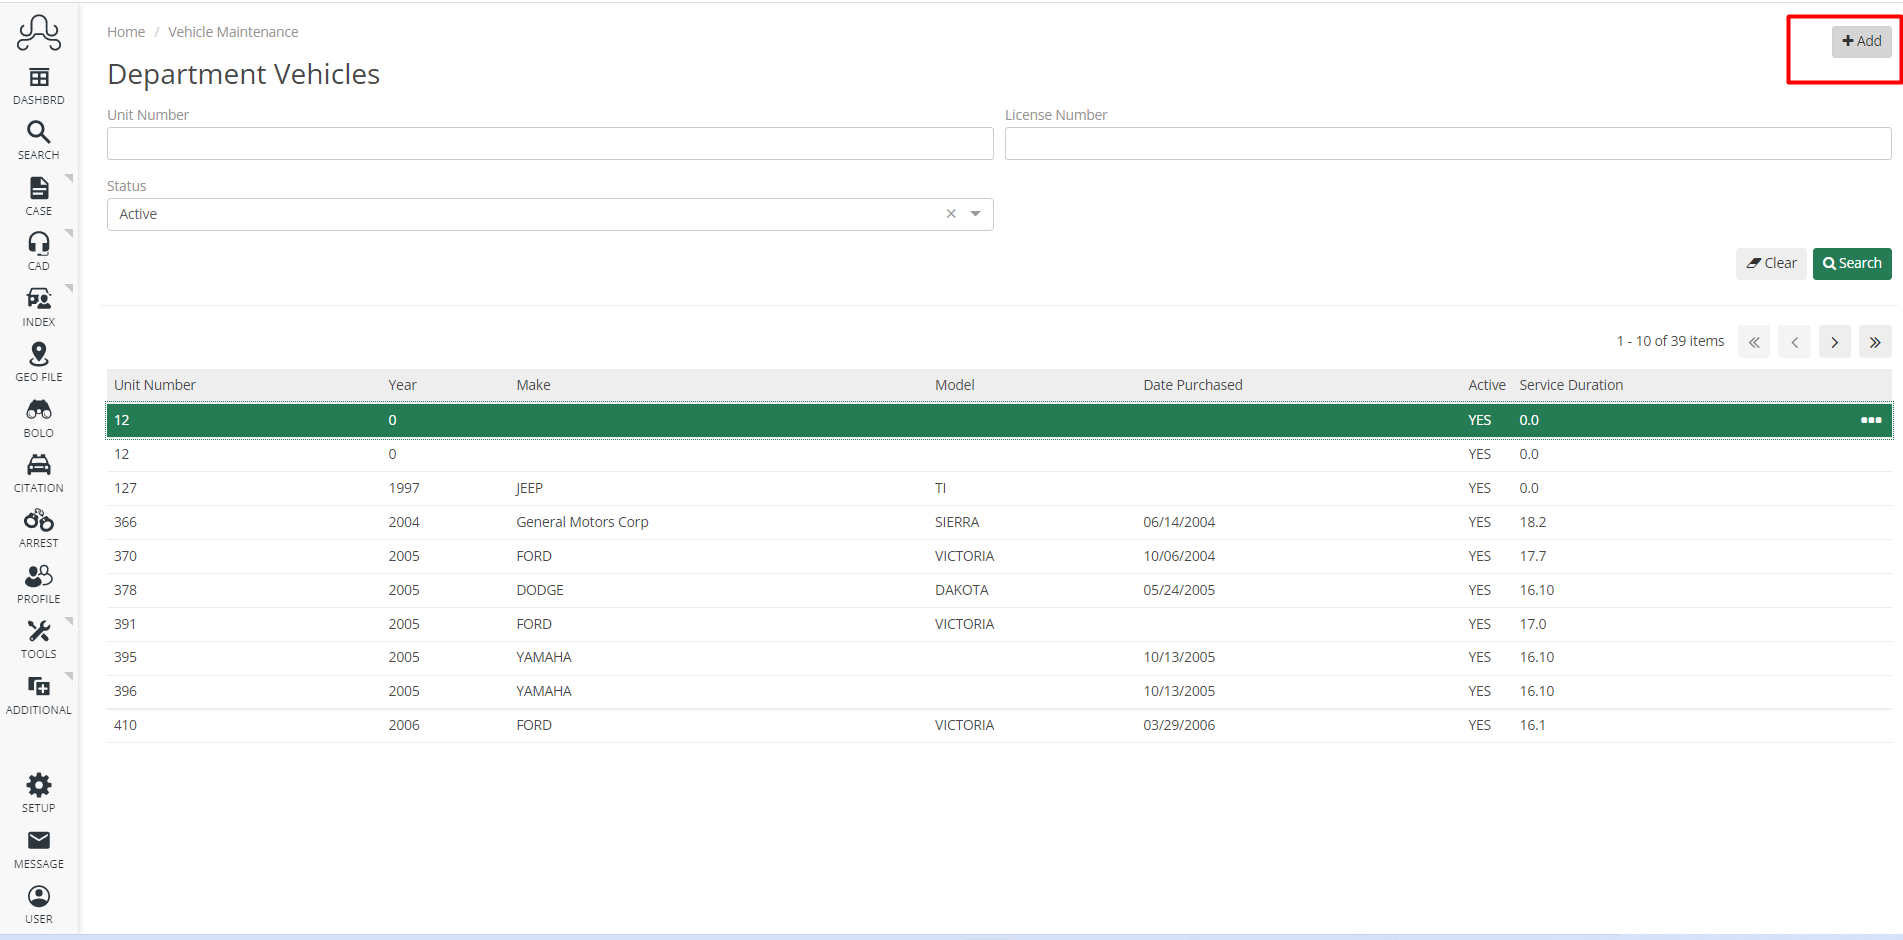
The first step in tracking vehicles of the department is to set up all Department Vehicles.

Using the Vehicle Maintenance module, navigate to the Department Vehicles section and click on the +Add button to add new department vehicles to the system. You can also search from already added vehicles.
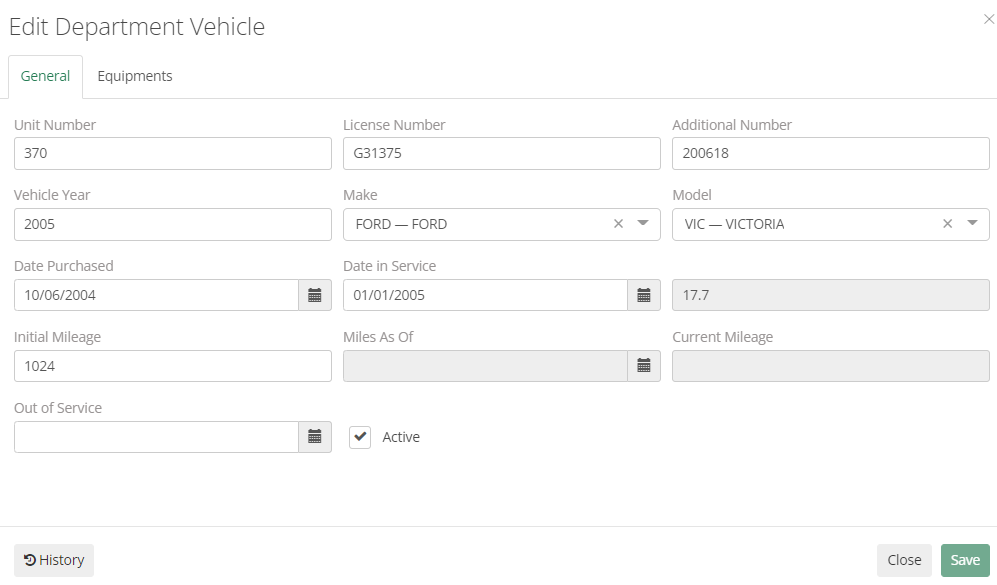
While adding vehicles, the first section of information to be filled out is “General”. This is to add general information about vehicles such as unit number, license number, vehicle year, make, model, date purchased, date in service, initial mileage, current mileage, and out of service.
The Next step is adding Equipment to the vehicle. Vehicle Equipment can be added through the Equipment tab here. Alternatively you can navigate to Side Menu >Setup>User Setup > Equipment and add Equipment from there as well.
The vehicle must be added before adding equipment to it. To fill out equipment details, issue date, return date, equipment description, Add Equipment to Equipment File, Property Control Number, Equipment Serial Number, and Reason Returned need to be entered.

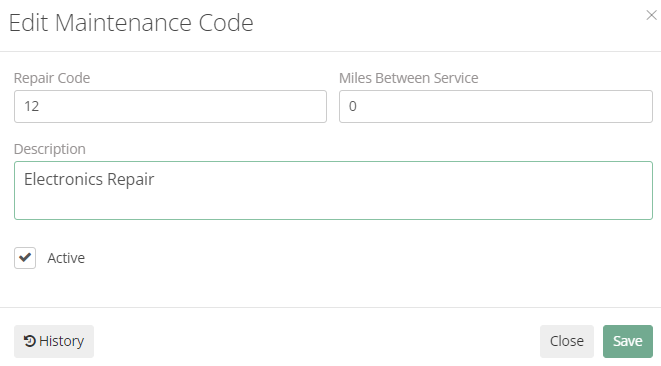
Maintenance Code
This section helps in Setting up different types of codes for maintenance. It contains fields such as Repair code, Miles between service, and description.
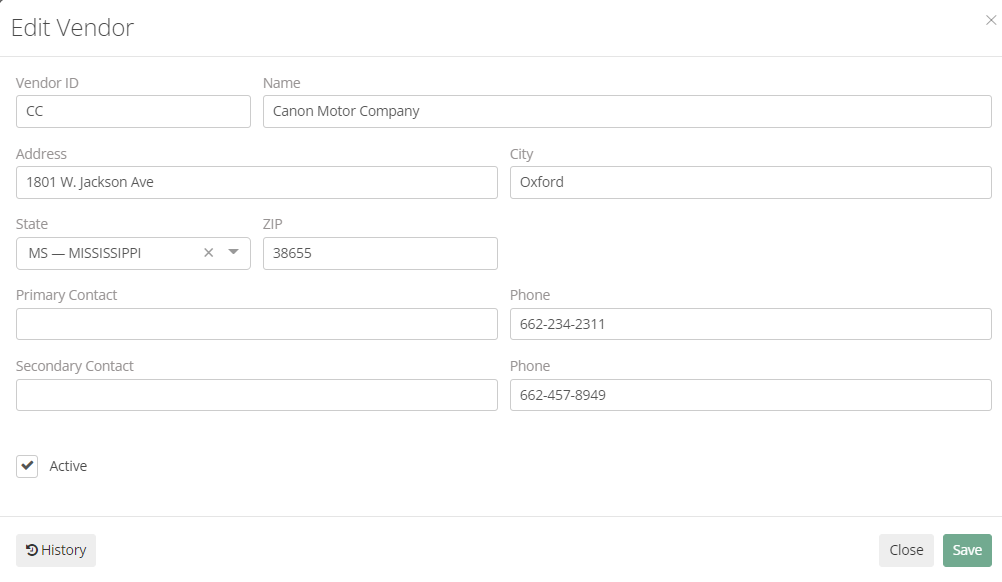
Vendors
This section allows for setting up vendors which are going to do repairs for your department. It includes details like Vendor ID, name, Address, city, state, zip, primary contact name and number, secondary contact name and number, and the checkbox for the status of the vendor whether it’s active or not.